How to Configure Store Vacations for In-Store Pickup
Setting up store vacations is crucial for maintaining a smooth in-store pickup experience. When your store is closed for holidays or other reasons, customers need to be aware that they cannot schedule pickups on those days. Properly configuring store vacations ensures that customers don’t encounter issues when planning their pickups, thereby enhancing their overall shopping experience.
Step-by-step guide to adding a store vacation
To begin setting up a vacation for your store, follow these steps:
Step 1: Access the vacation settings
- Navigate to the module configuration page.
- Click on the "Vacation" menu.

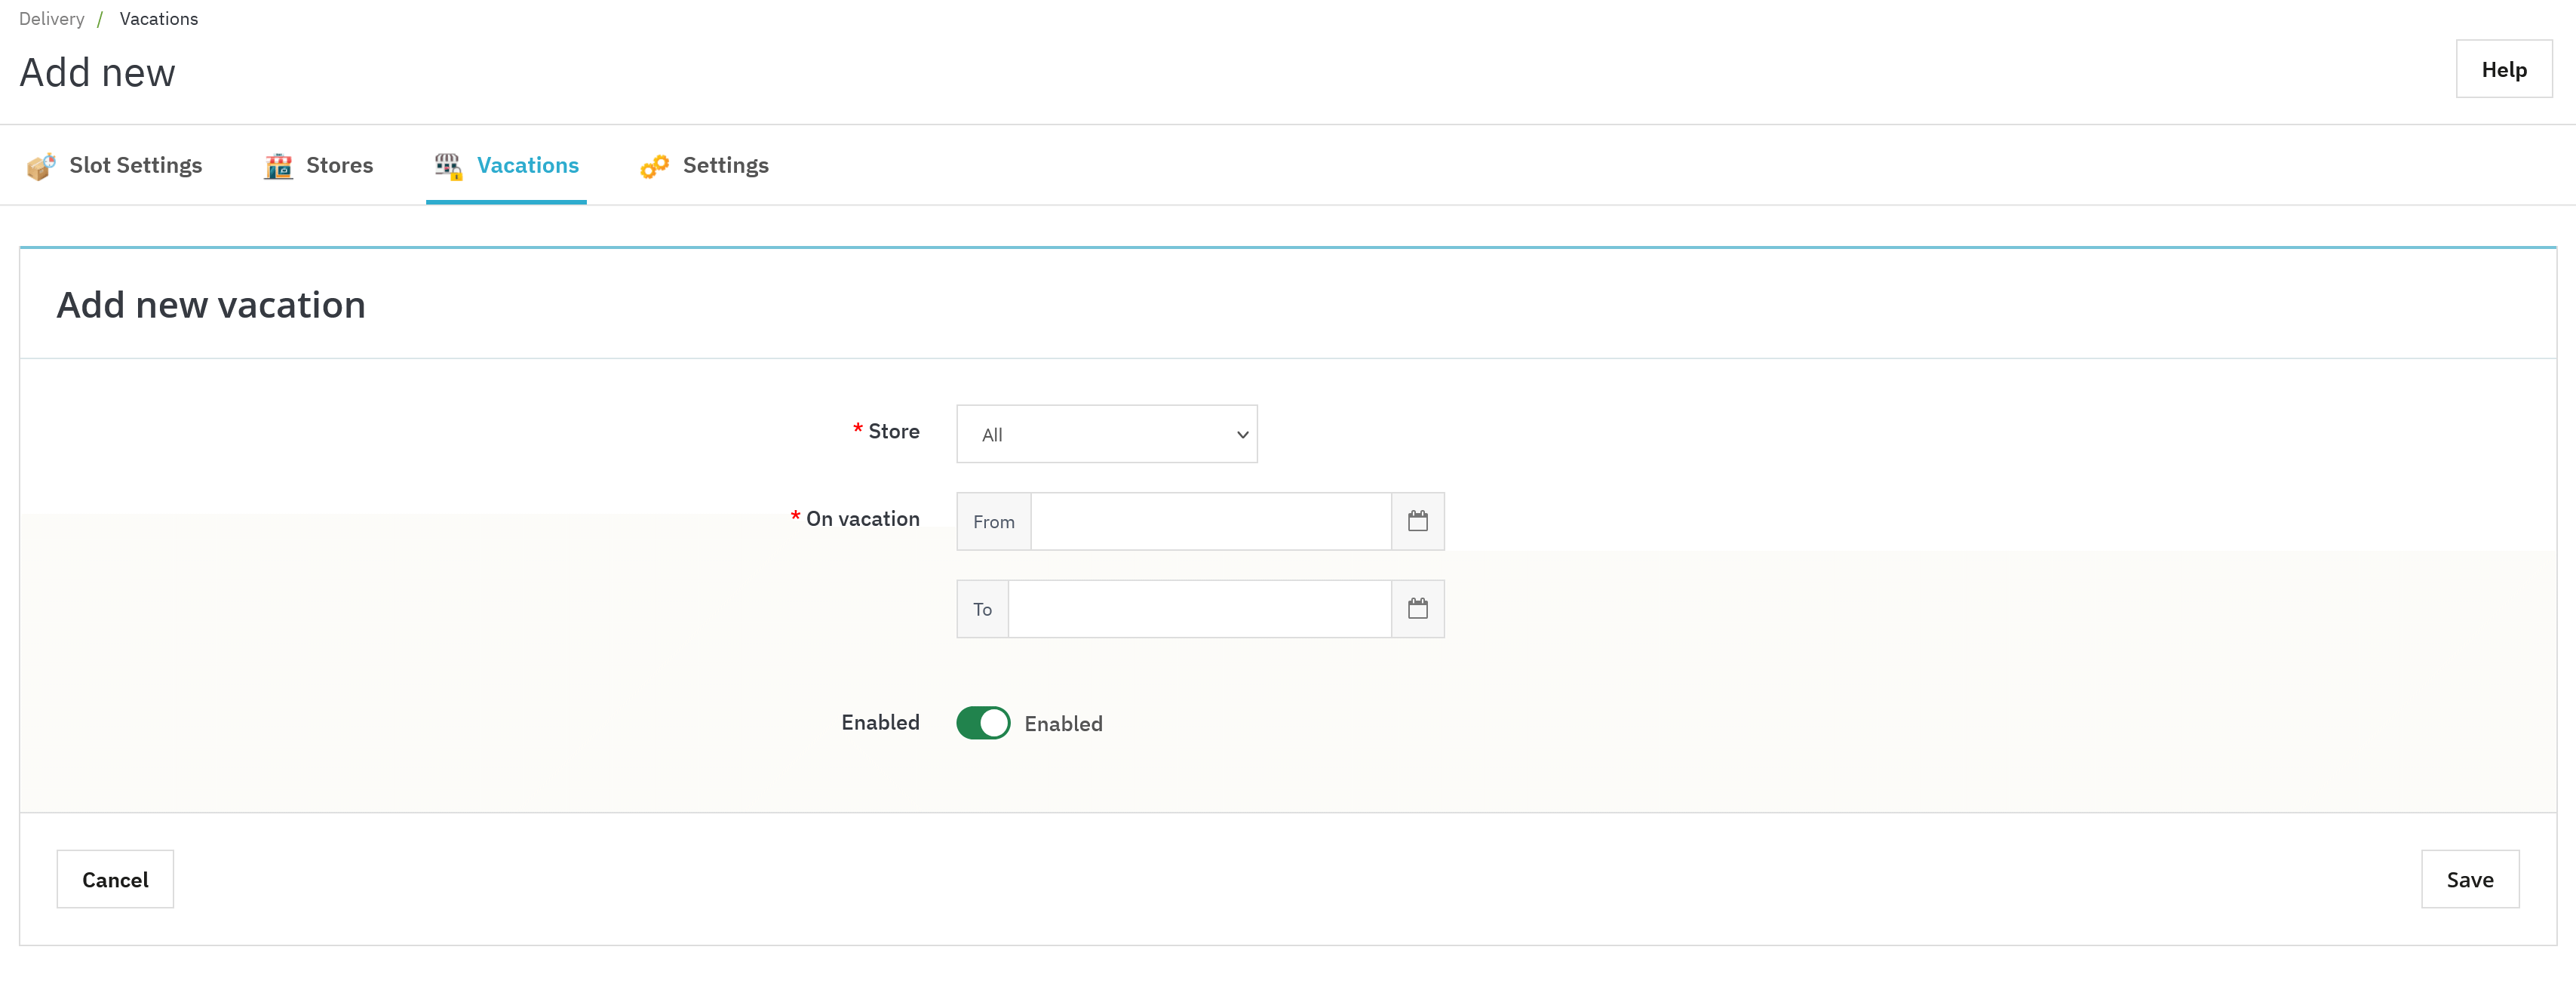
Step 2: Add a new vacation
- Click on the "+" icon located at the top right corner of the vacation listing page.
- Choose whether to apply the vacation to all stores or a specific store, such as "Camellia Studio".
- Select the start date and end date for the vacation. This period will determine when the store is unavailable for pickups.
- Ensure the vacation is enabled, then click "Save" to confirm the changes.
Managing and Tracking Vacations
Once you've added a vacation, it will appear on the vacation listing page. Here you can view:
- Store name: The name of the store where the vacation applies.
- Start and end dates: The duration of the vacation.
- Number of days off: The total days the store will be closed.
- Vacation status: Easily track whether a vacation is active or inactive.
Example: Imagine "Camellia Studio" is closing for a week in December. By setting up a vacation from December 20th to December 27th, customers will not be able to schedule pickups during that period, ensuring a hassle-free shopping experience.
By following these steps, you can easily manage store vacations, keeping both your operations and customer expectations in sync.