How to Generate an Instagram Access Token Without a Verified Business Account
If you don't have a verified Business account but still need an Instagram Access Token, follow this step-by-step guide. Remember that without verification, your access token will expire in a maximum of two months, and you will need to manually generate a new one after that.
STEP 1: Connect Your Instagram Account to Your Facebook Page
Before you begin
- You’ll need a creator or business account on Instagram. Learn how to set up a creator account or set up a business account on Instagram.
- You'll need a Facebook Page.
- You'll need a Facebook personal account that has an admin role on your Facebook Page.
Connect your Facebook Page to your Instagram Account
To connect your Instagram account to a Facebook Page:
- Open the Instagram app on your mobile device. Go to your Instagram Profile.
- Tap Edit Profile.
- Under Public business information or Profile information, tap Connect or create next to Page.
- Tap Continue.
- Tap Login to Facebook.
- Choose a Page from your Pages that you'd like to connect to or select Create a new Facebook Page.
- Tap Connect.
- Tap Done once you've selected a Page or created a new Facebook Page.
Your professional account is now connected to a Facebook Page. If you select an existing Page, you may be prompted to log into your personal Facebook account.
Note: If your Facebook Page is added to your Meta Business Account in Business Manager, you must also add the professional Instagram account to the same Meta Business Account before you can connect them.
STEP 2: Create An App On Facebook For Developers
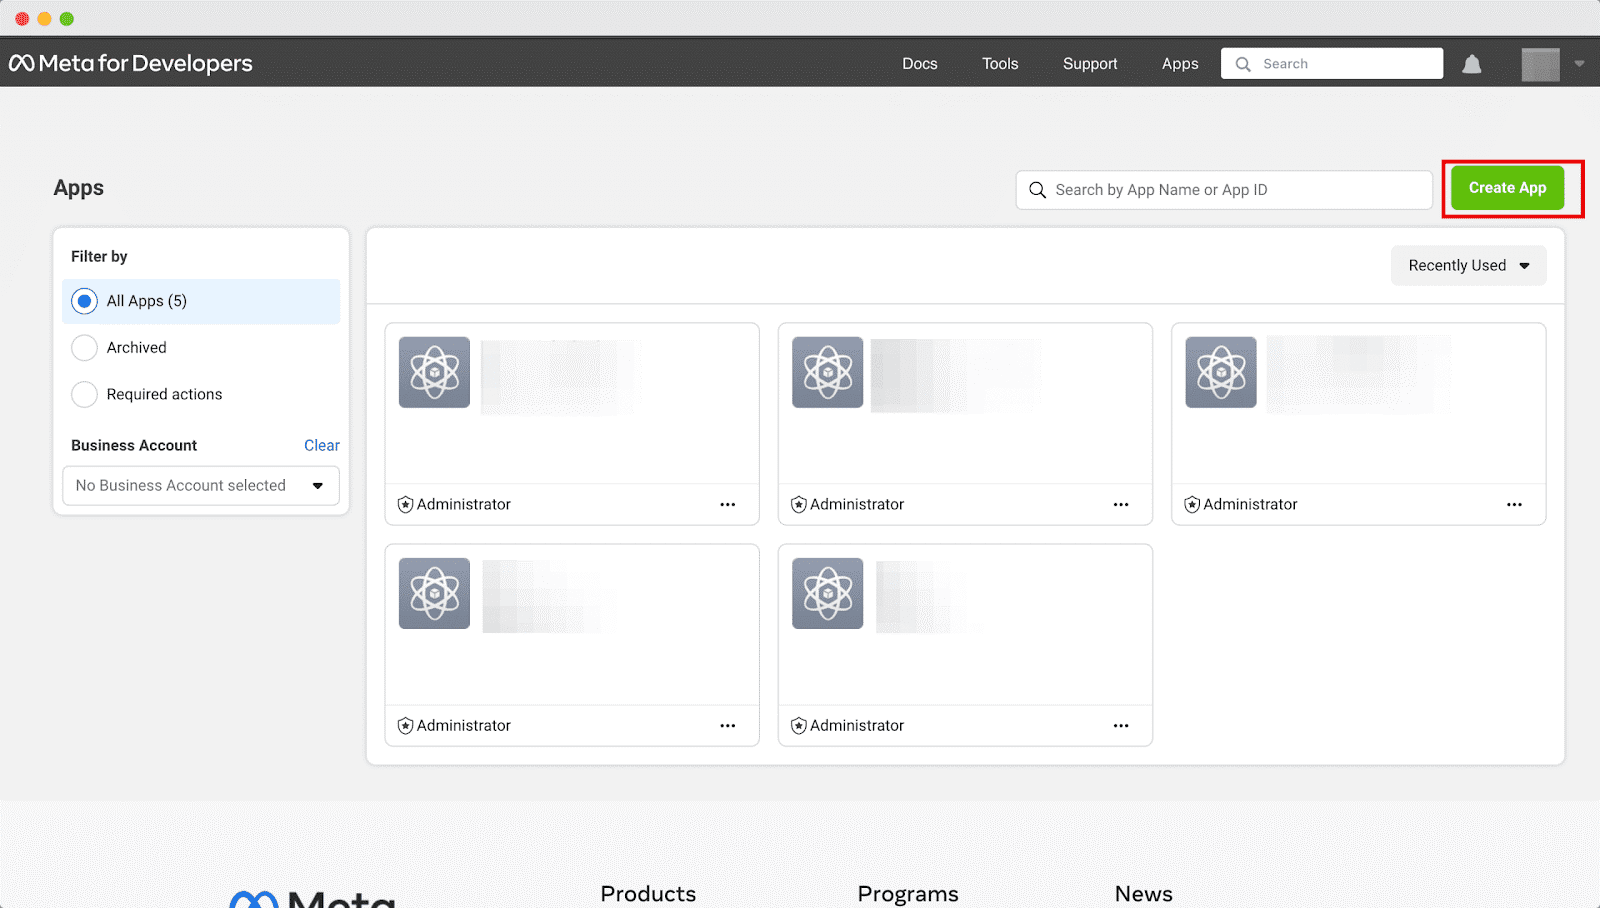
To get the access token from Instagram, you’ll need to create an app on Facebook Developers. Log in to your Facebook account, then go to your Facebook Developers Account. Select “Apps” in the menu and click the “Create App” button.
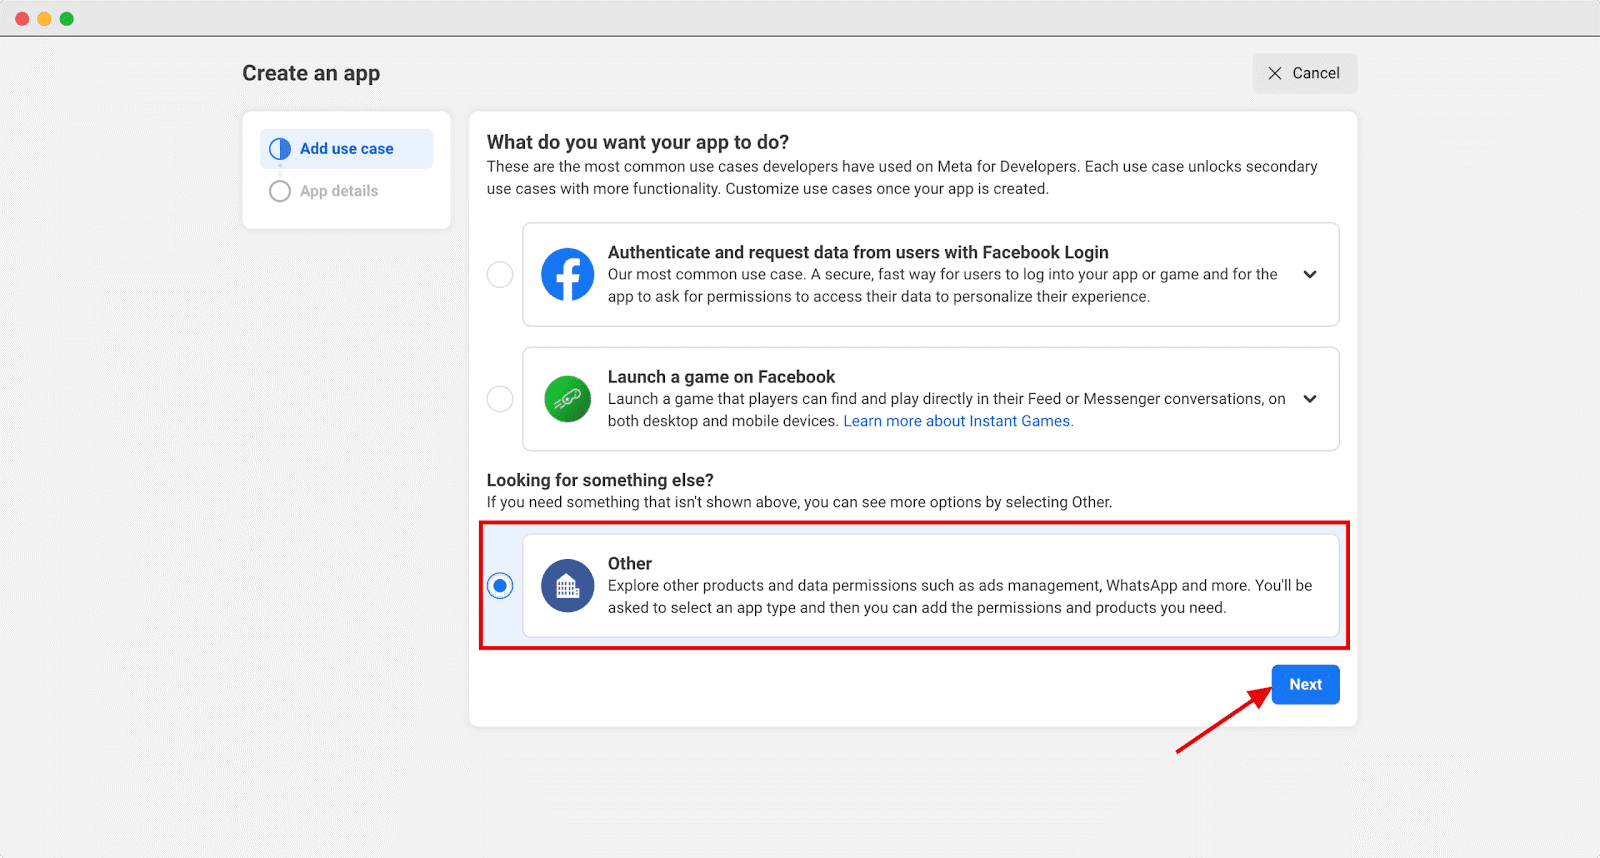
A popup will appear asking you to specify what your app will do. Choose the “Other” option, then click “Next”.
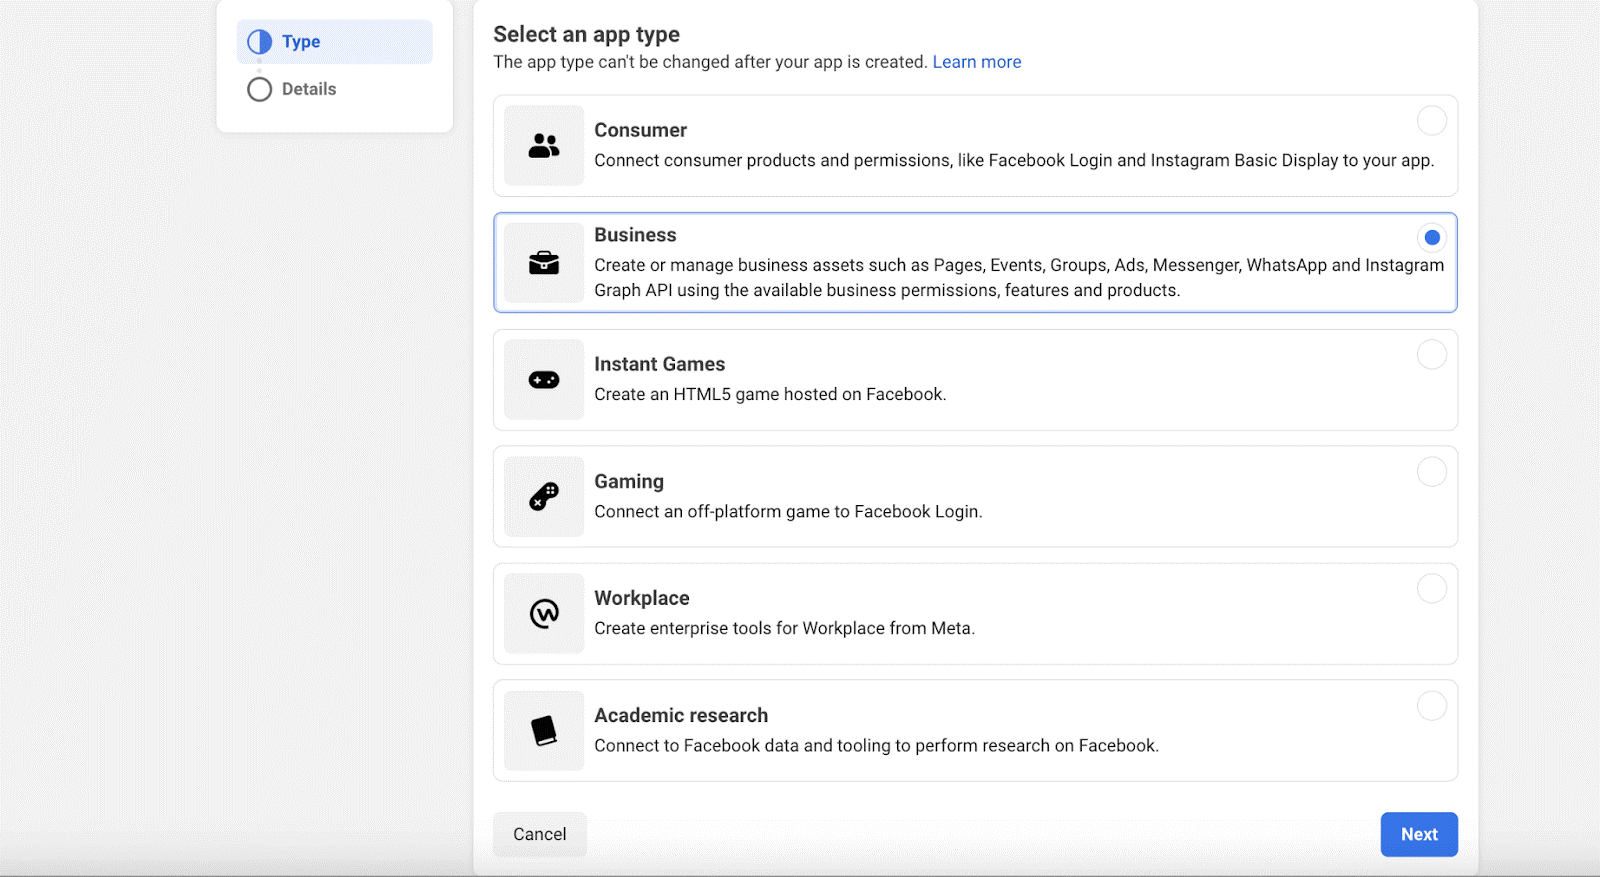
On the following screen, select the “Business” option to ensure you can connect relevant permissions and consumer products.
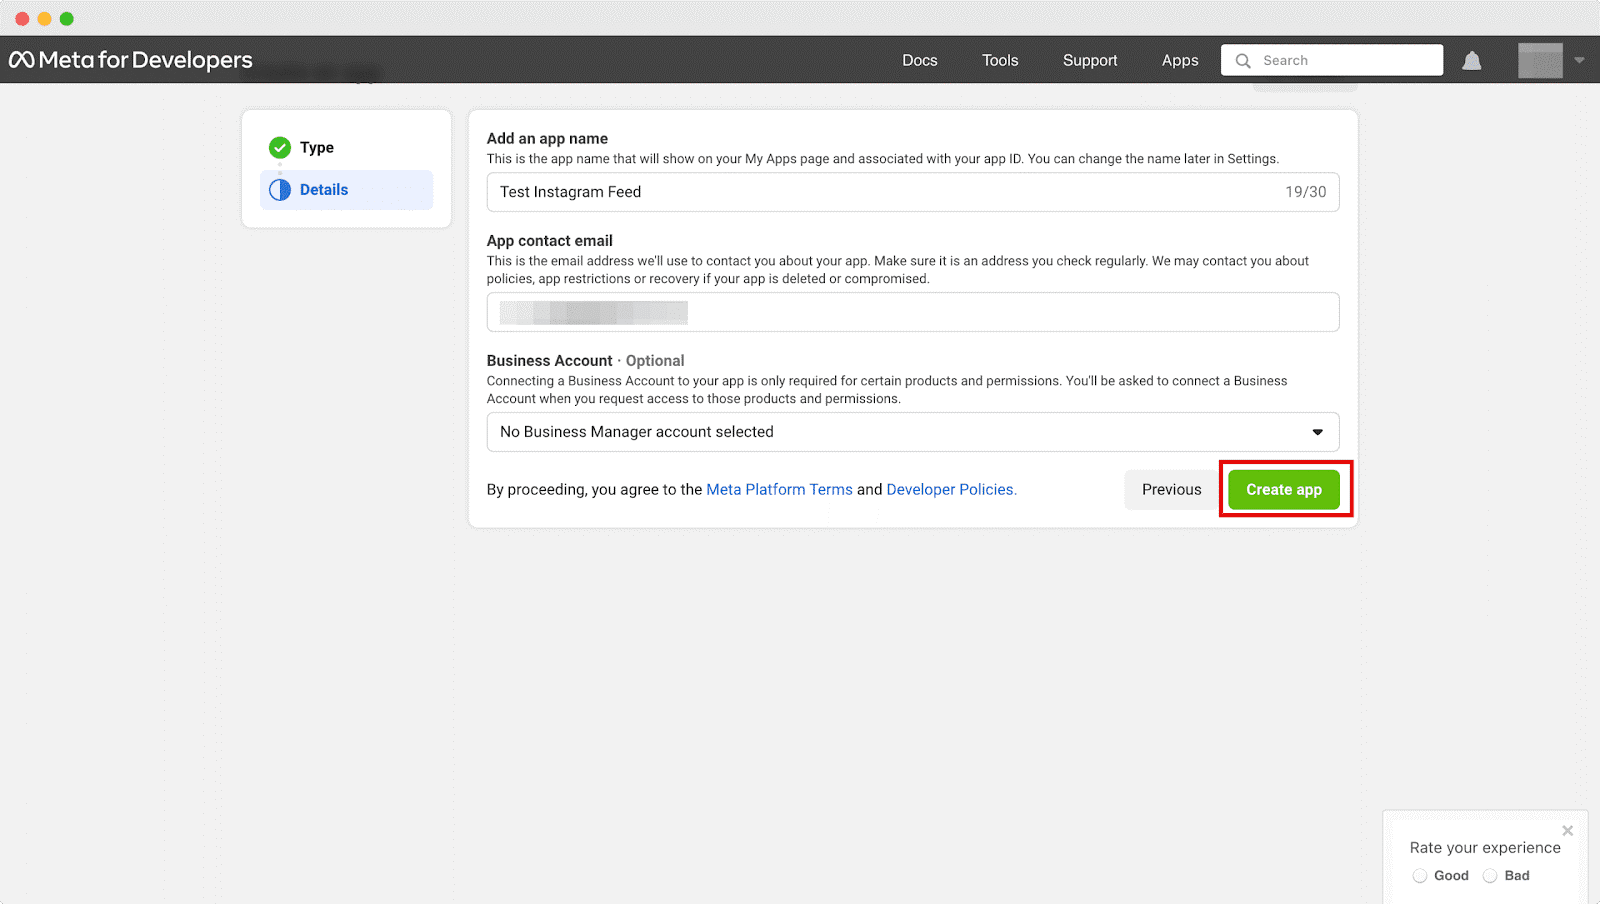
Fill in the required fields: “Display Name” and “App Contact Email”. Then, click “Create App”.
STEP 3: Configure Instagram API
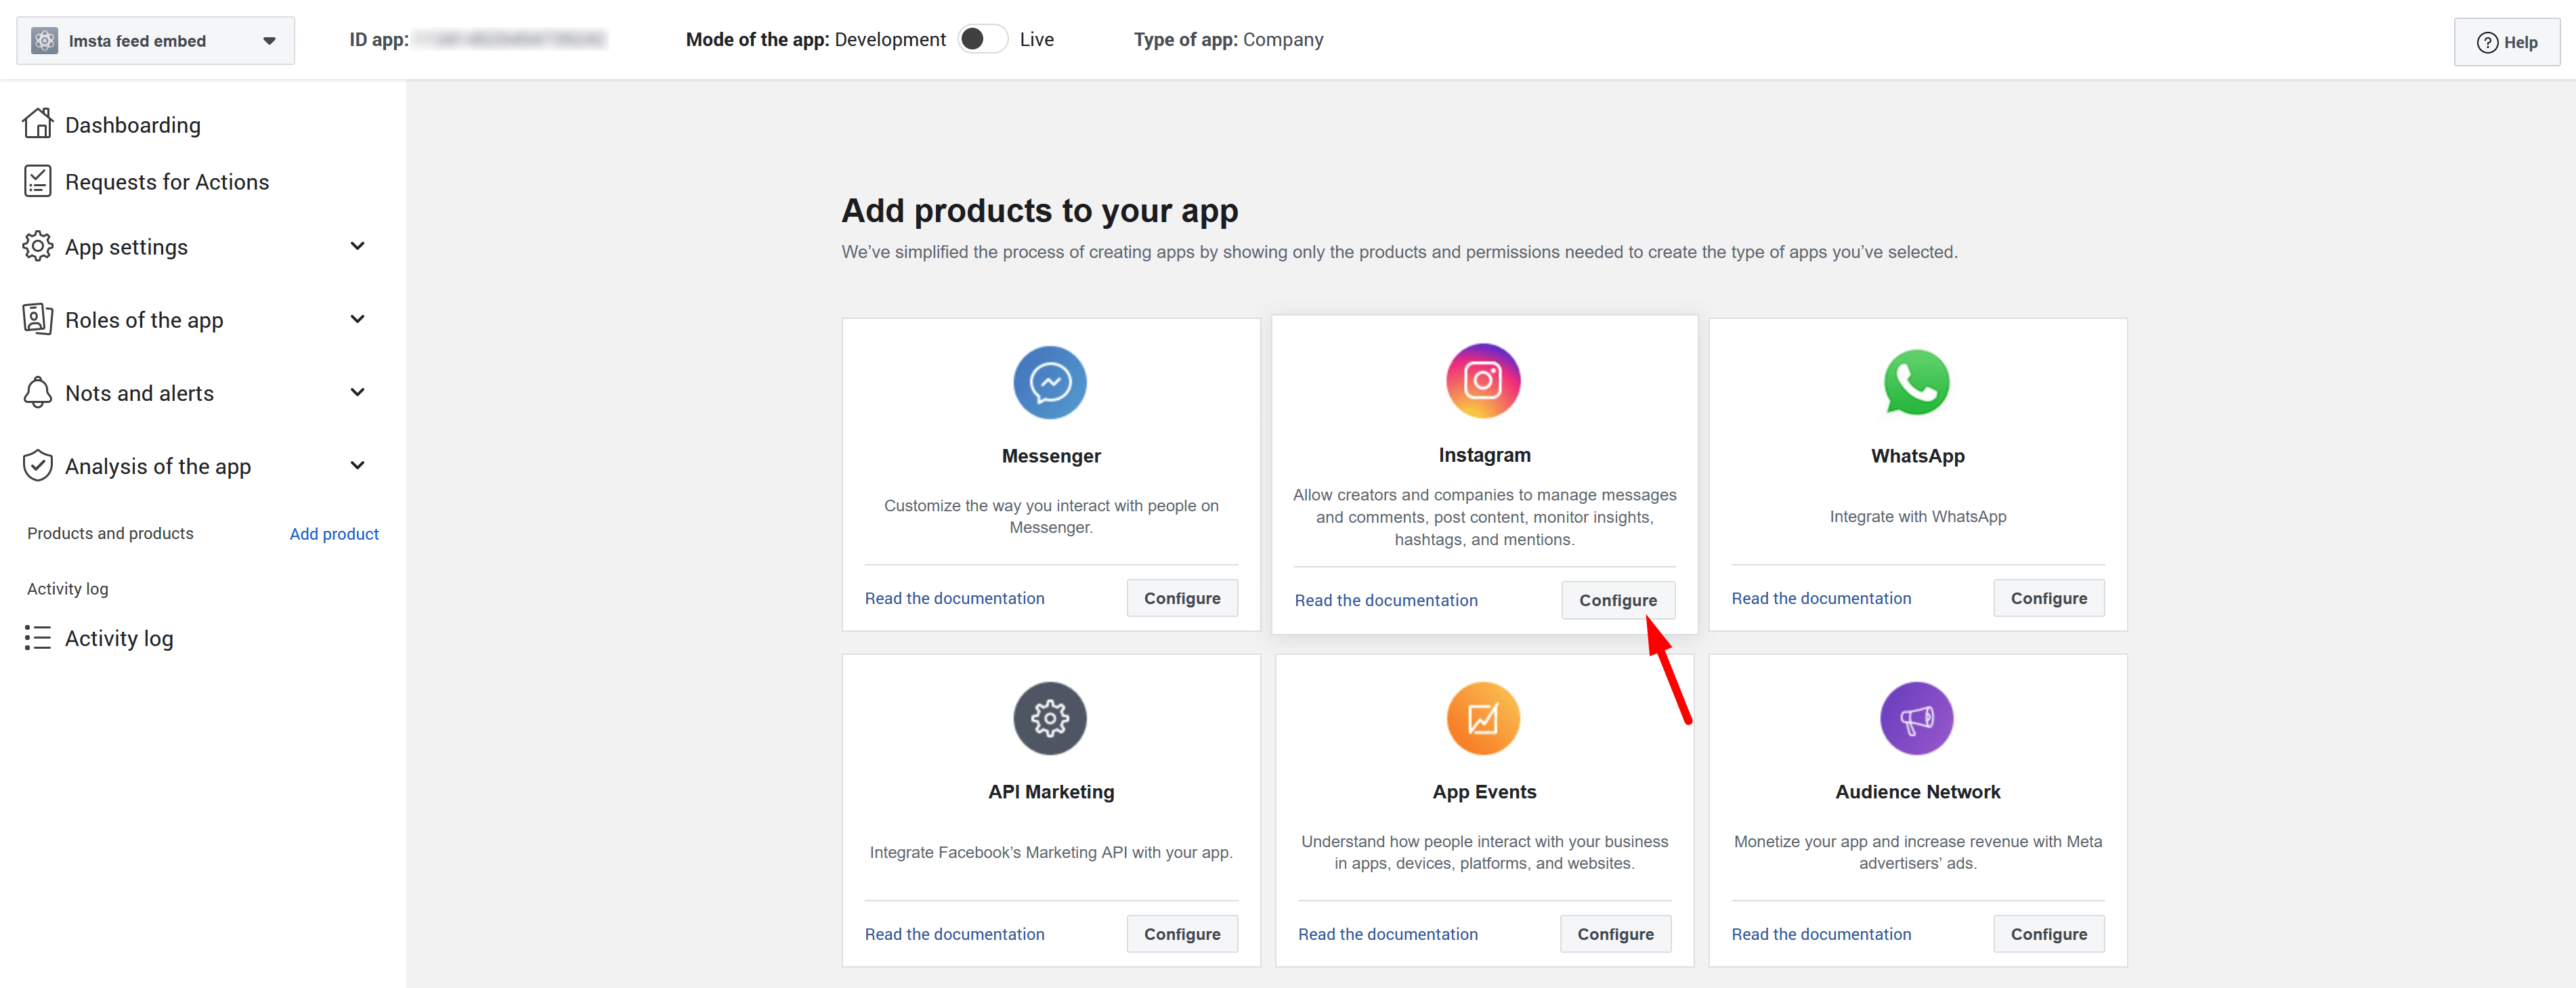
After successfully creating your app, you’ll be taken to a configuration page. Click “Configure/Set up” under the “Instagram” section.
Navigate to “App settings >> Basic”. Copy the App ID and App secret key and paste them into the configuration page of “INS Shopping Slider” module:

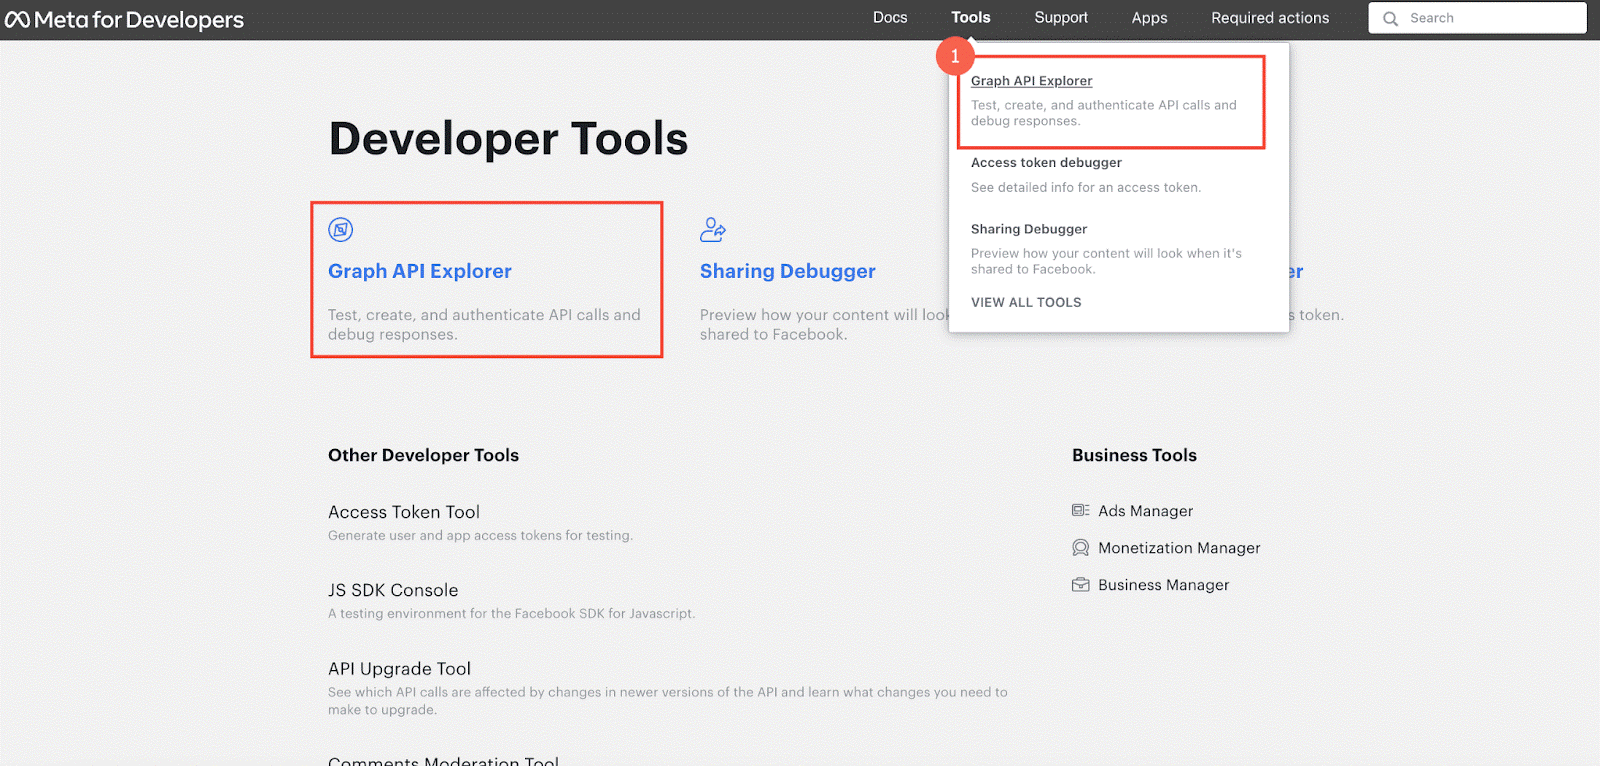
Go to Tools → Graph API Explorer on the Meta for Developers dashboard or visit https://developers.facebook.com/tools/explorer/.
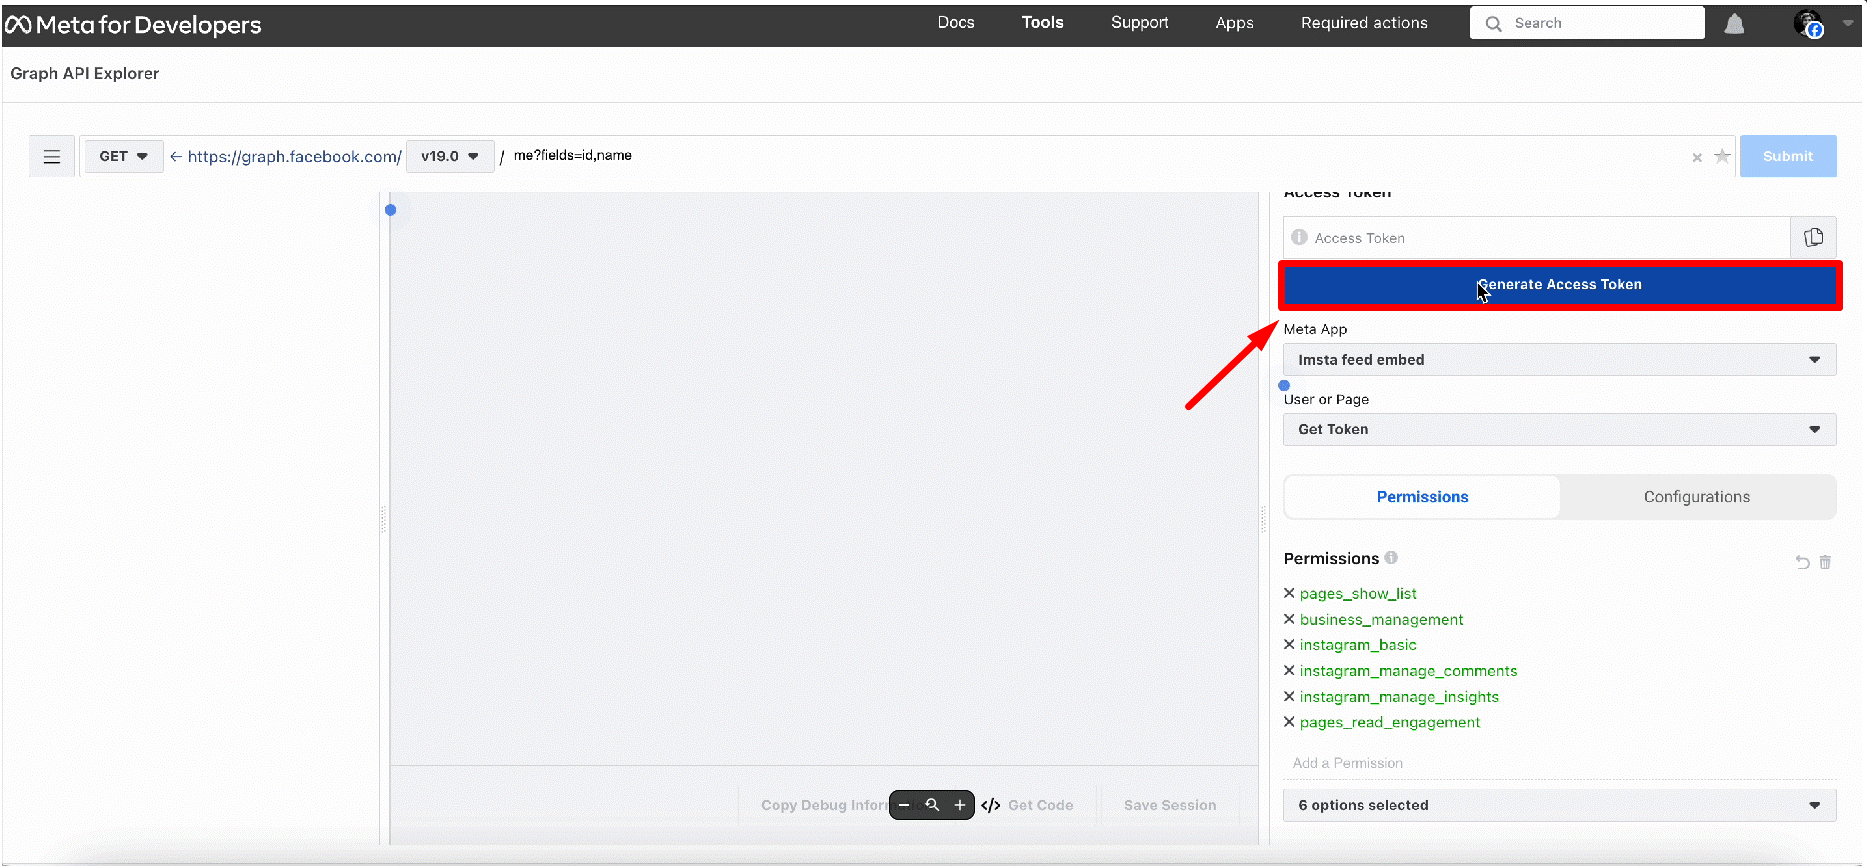
Choose the app you created from the “Meta App” field, and under the “Permission” section, grant the following permissions:
- pages_show_list
- business_management
- instagram_basic
- instagram_content_publish
- instagram_manage_comments
- instagram_manage_insights
- pages_read_engagement
- pages_read_user_content
- pages_manage_posts
- publish_video
STEP 4: Generate the Instagram Access Token
Click the “Generate Access Token” button.
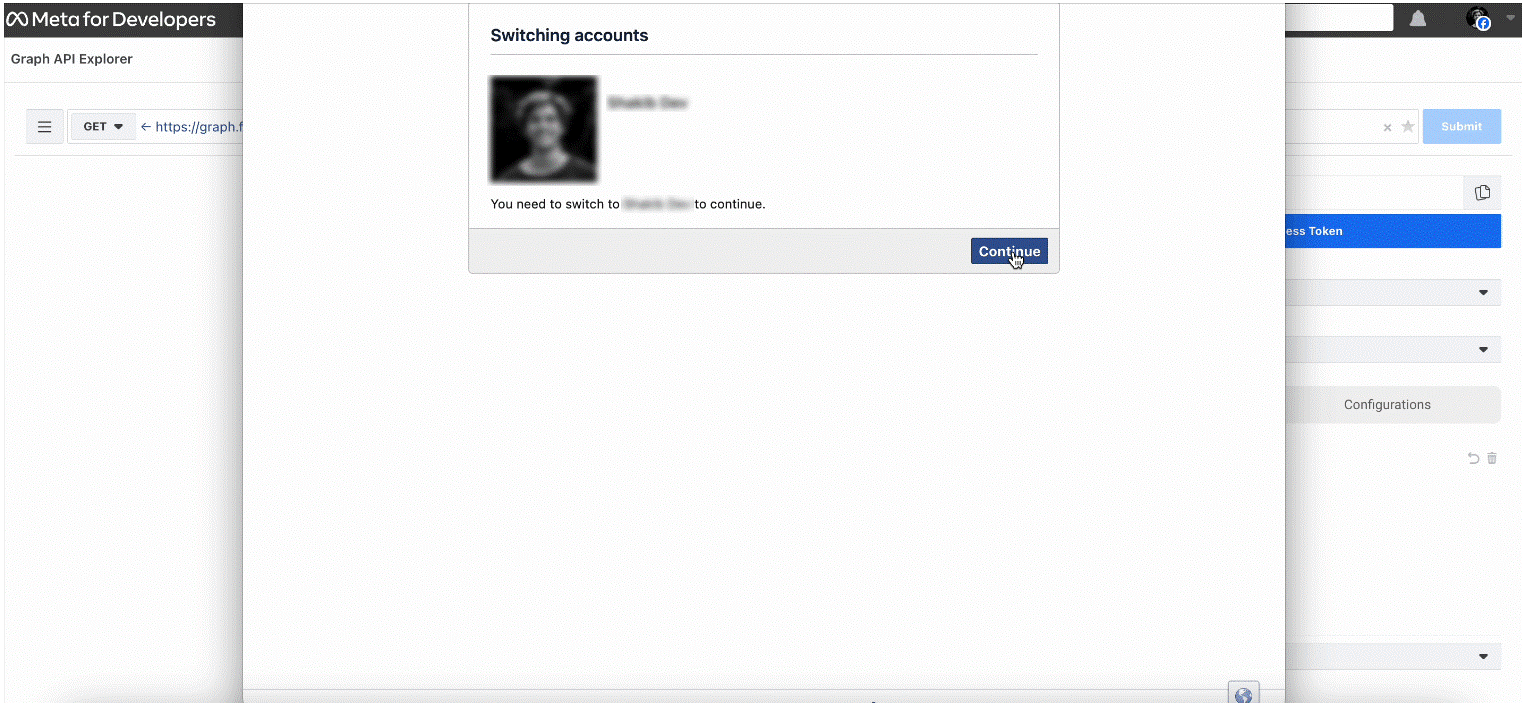
A popup will appear where you’ll need to follow the instructions. Switch the Facebook account and click on the “Continue” button.
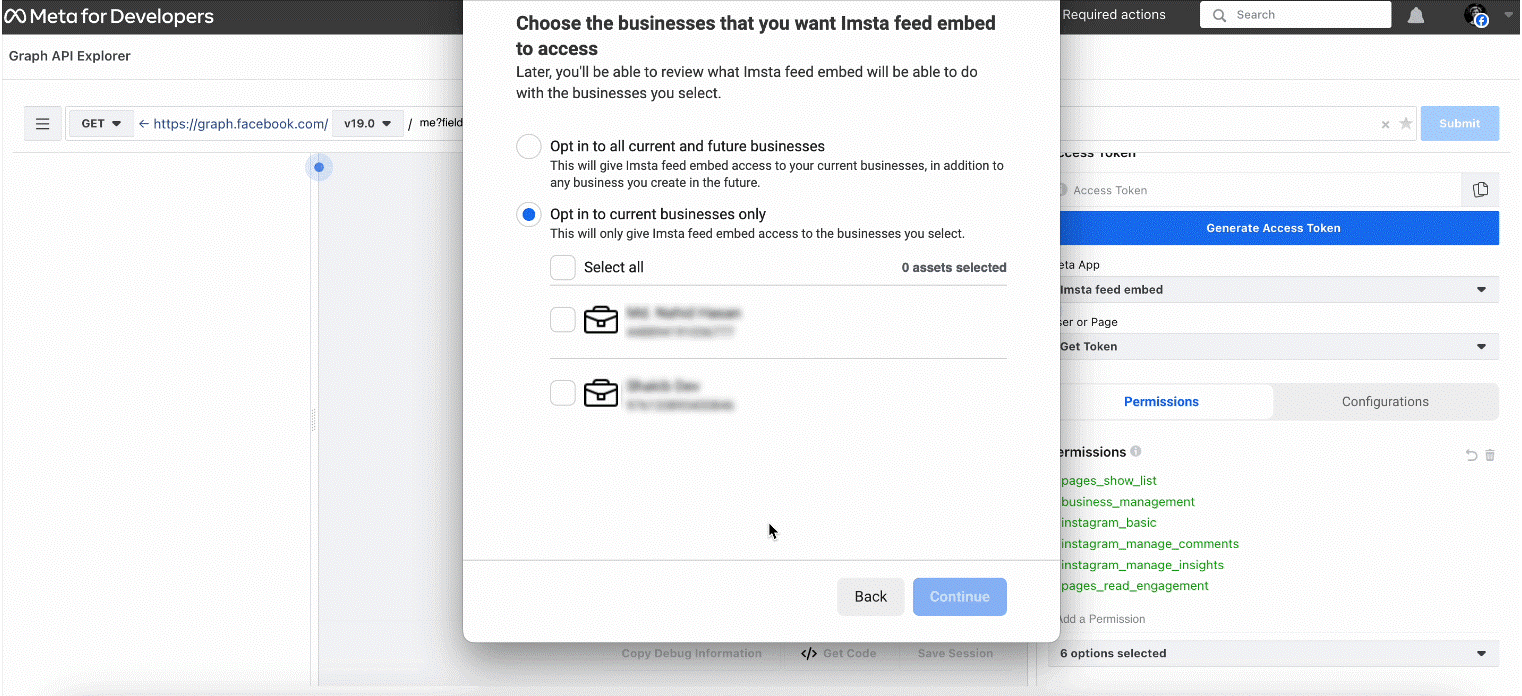
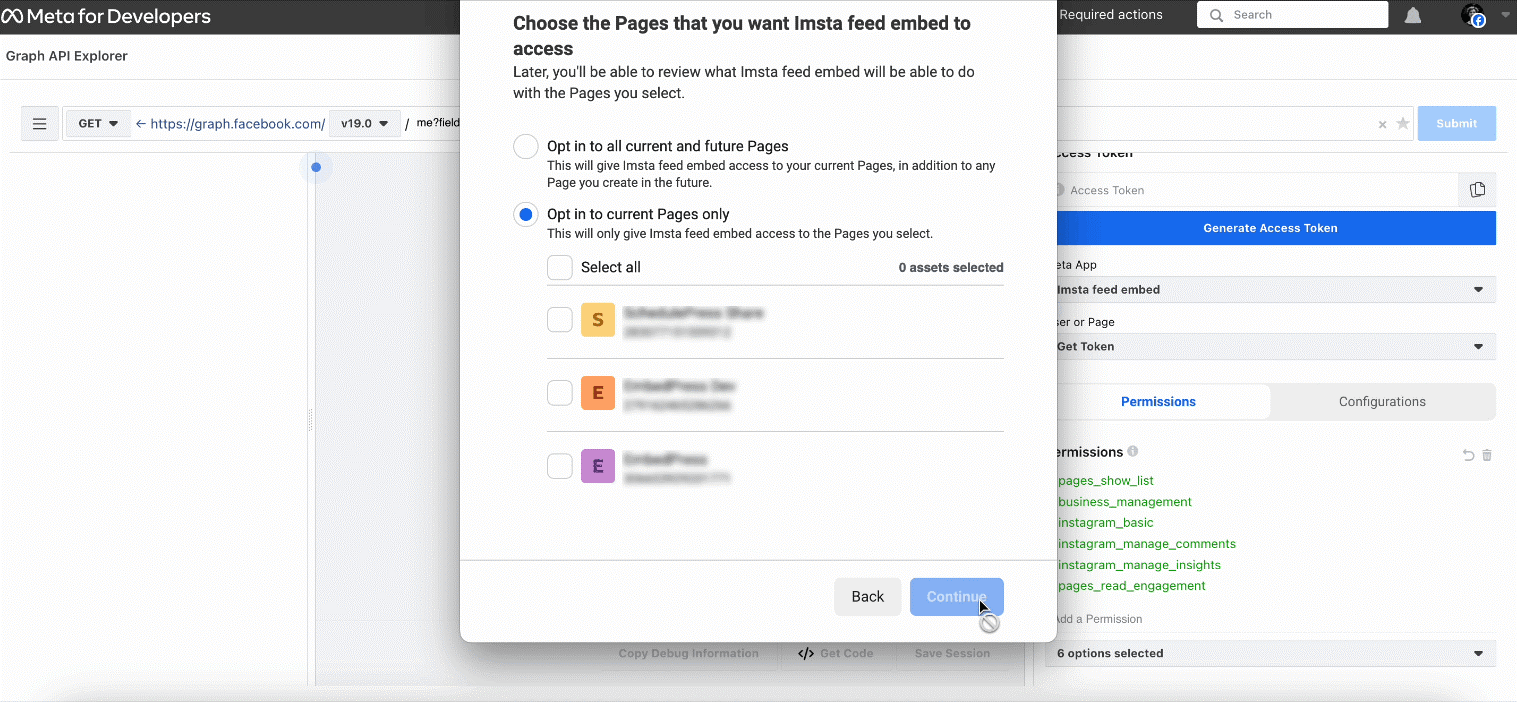
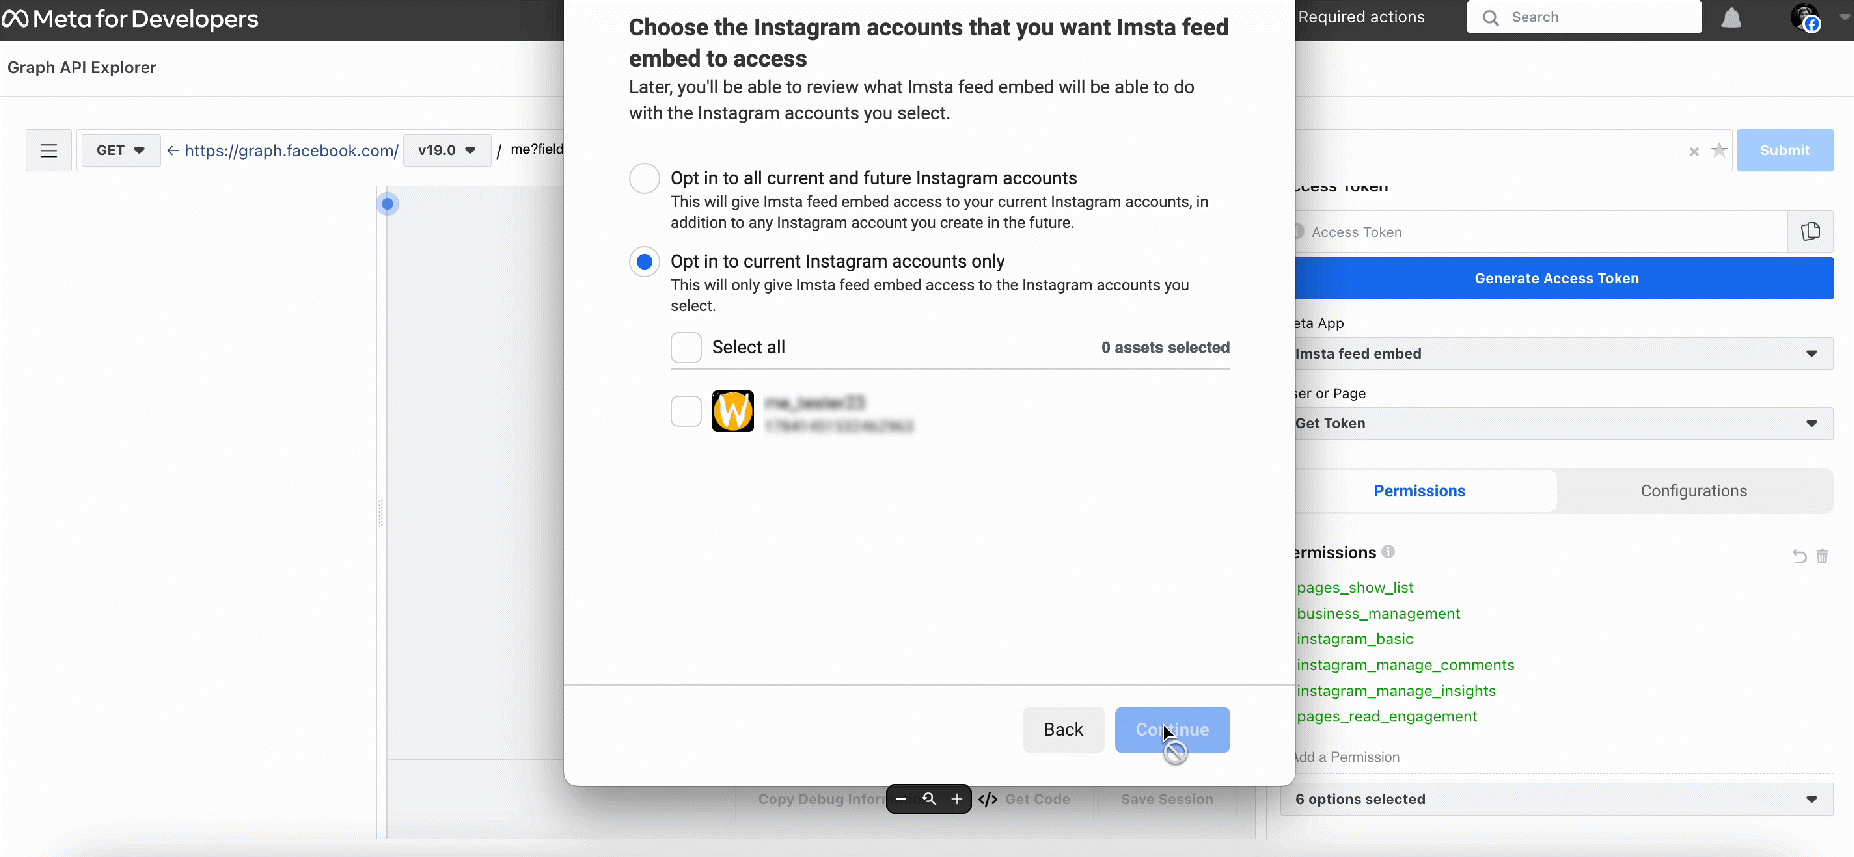
Then, select your Facebook page, app name, and Instagram account, clicking on the blue buttons to proceed.


Once your Instagram access token is generated, copy it.

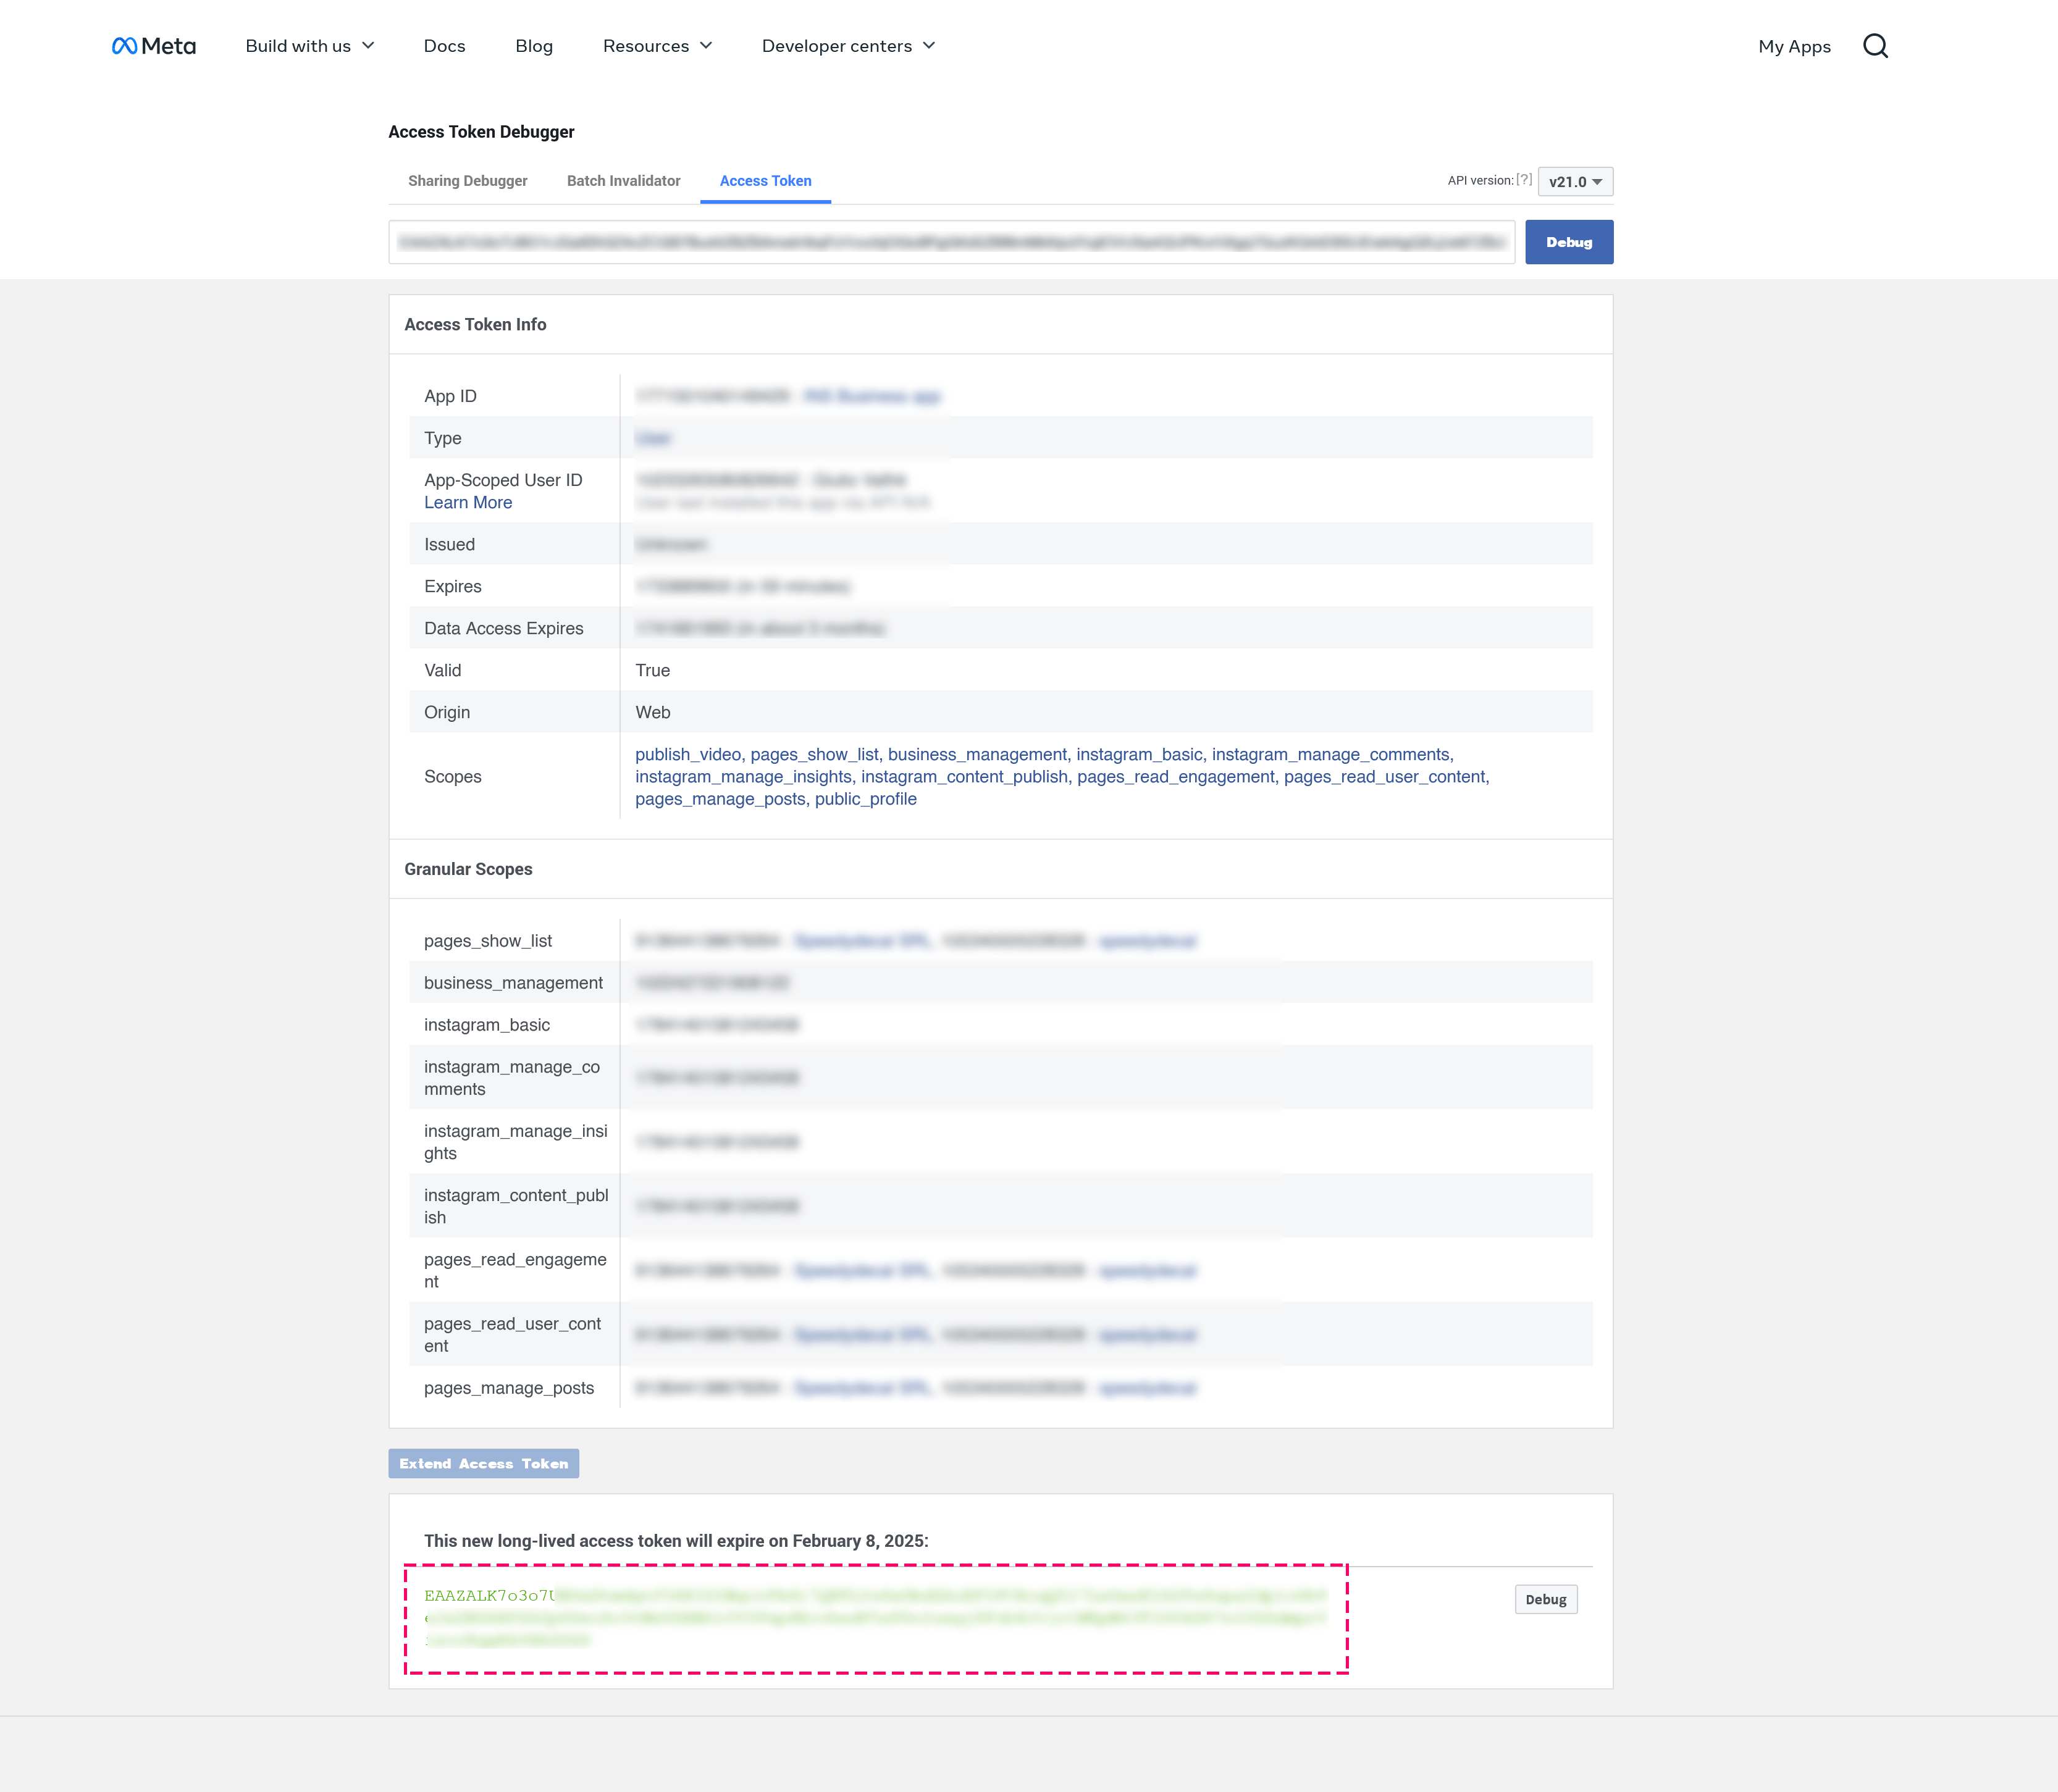
From the menu bar on developers.facebook.com, go to Tools → Access Token Debugger, or directly visit https://developers.facebook.com/tools/debug/accesstoken/.
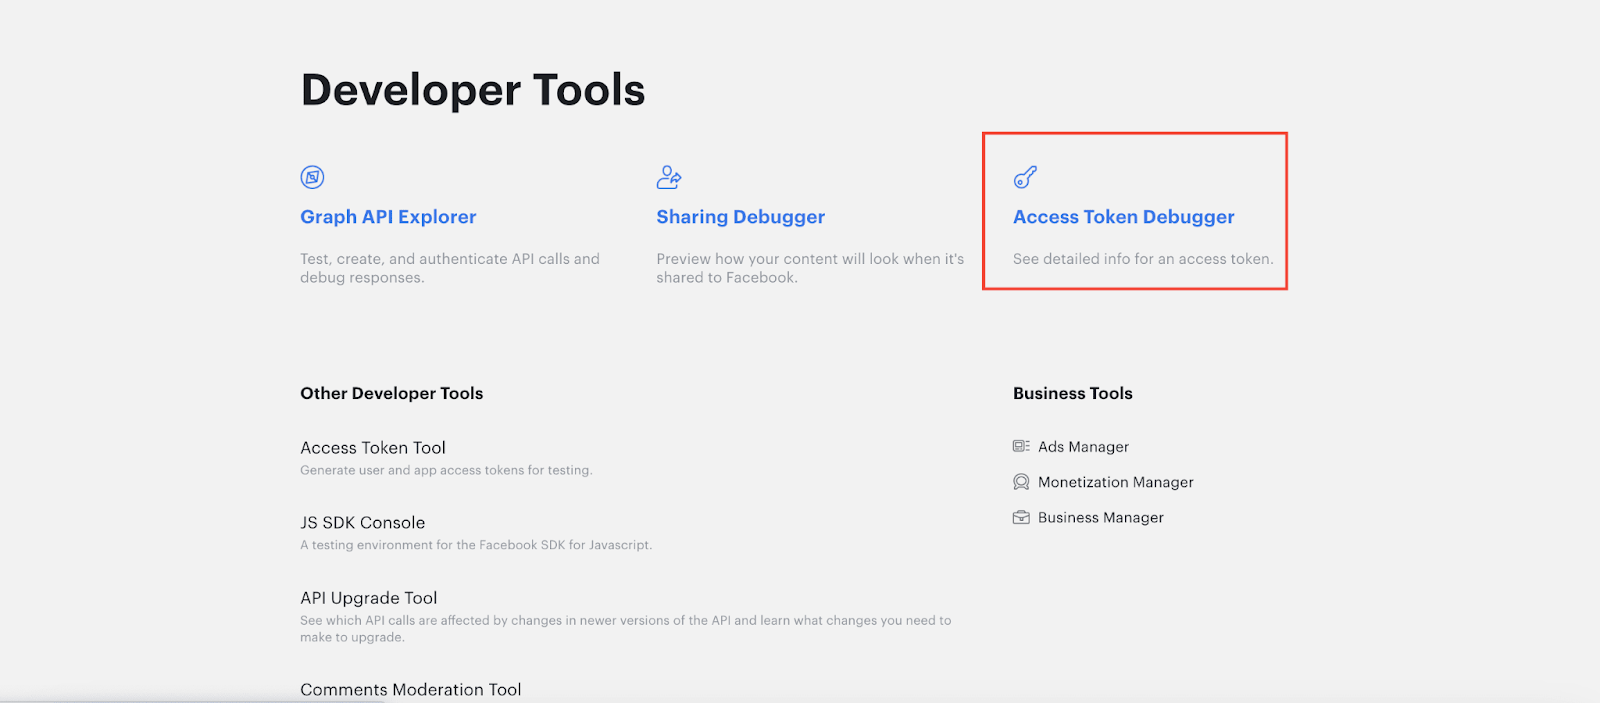
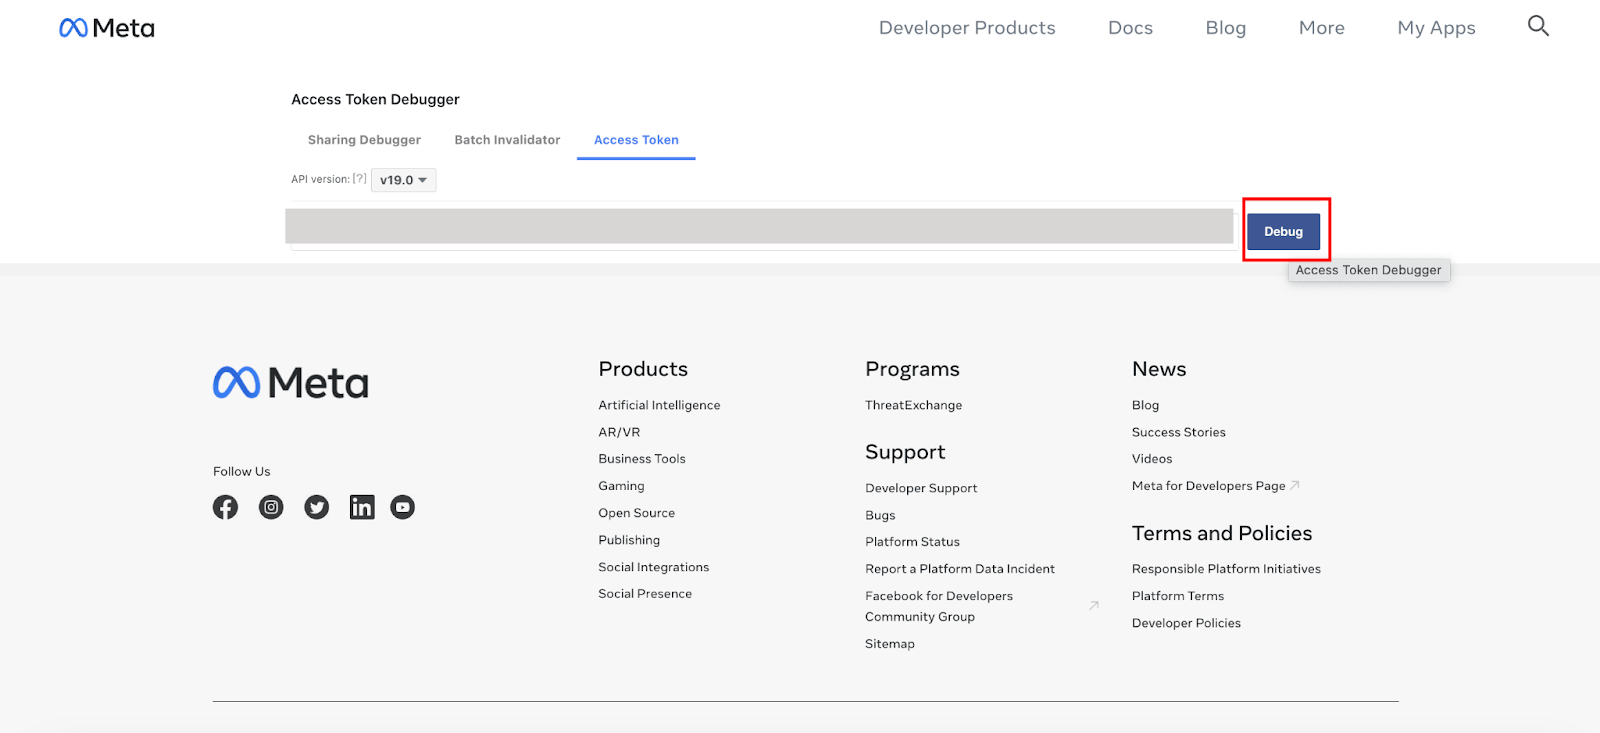
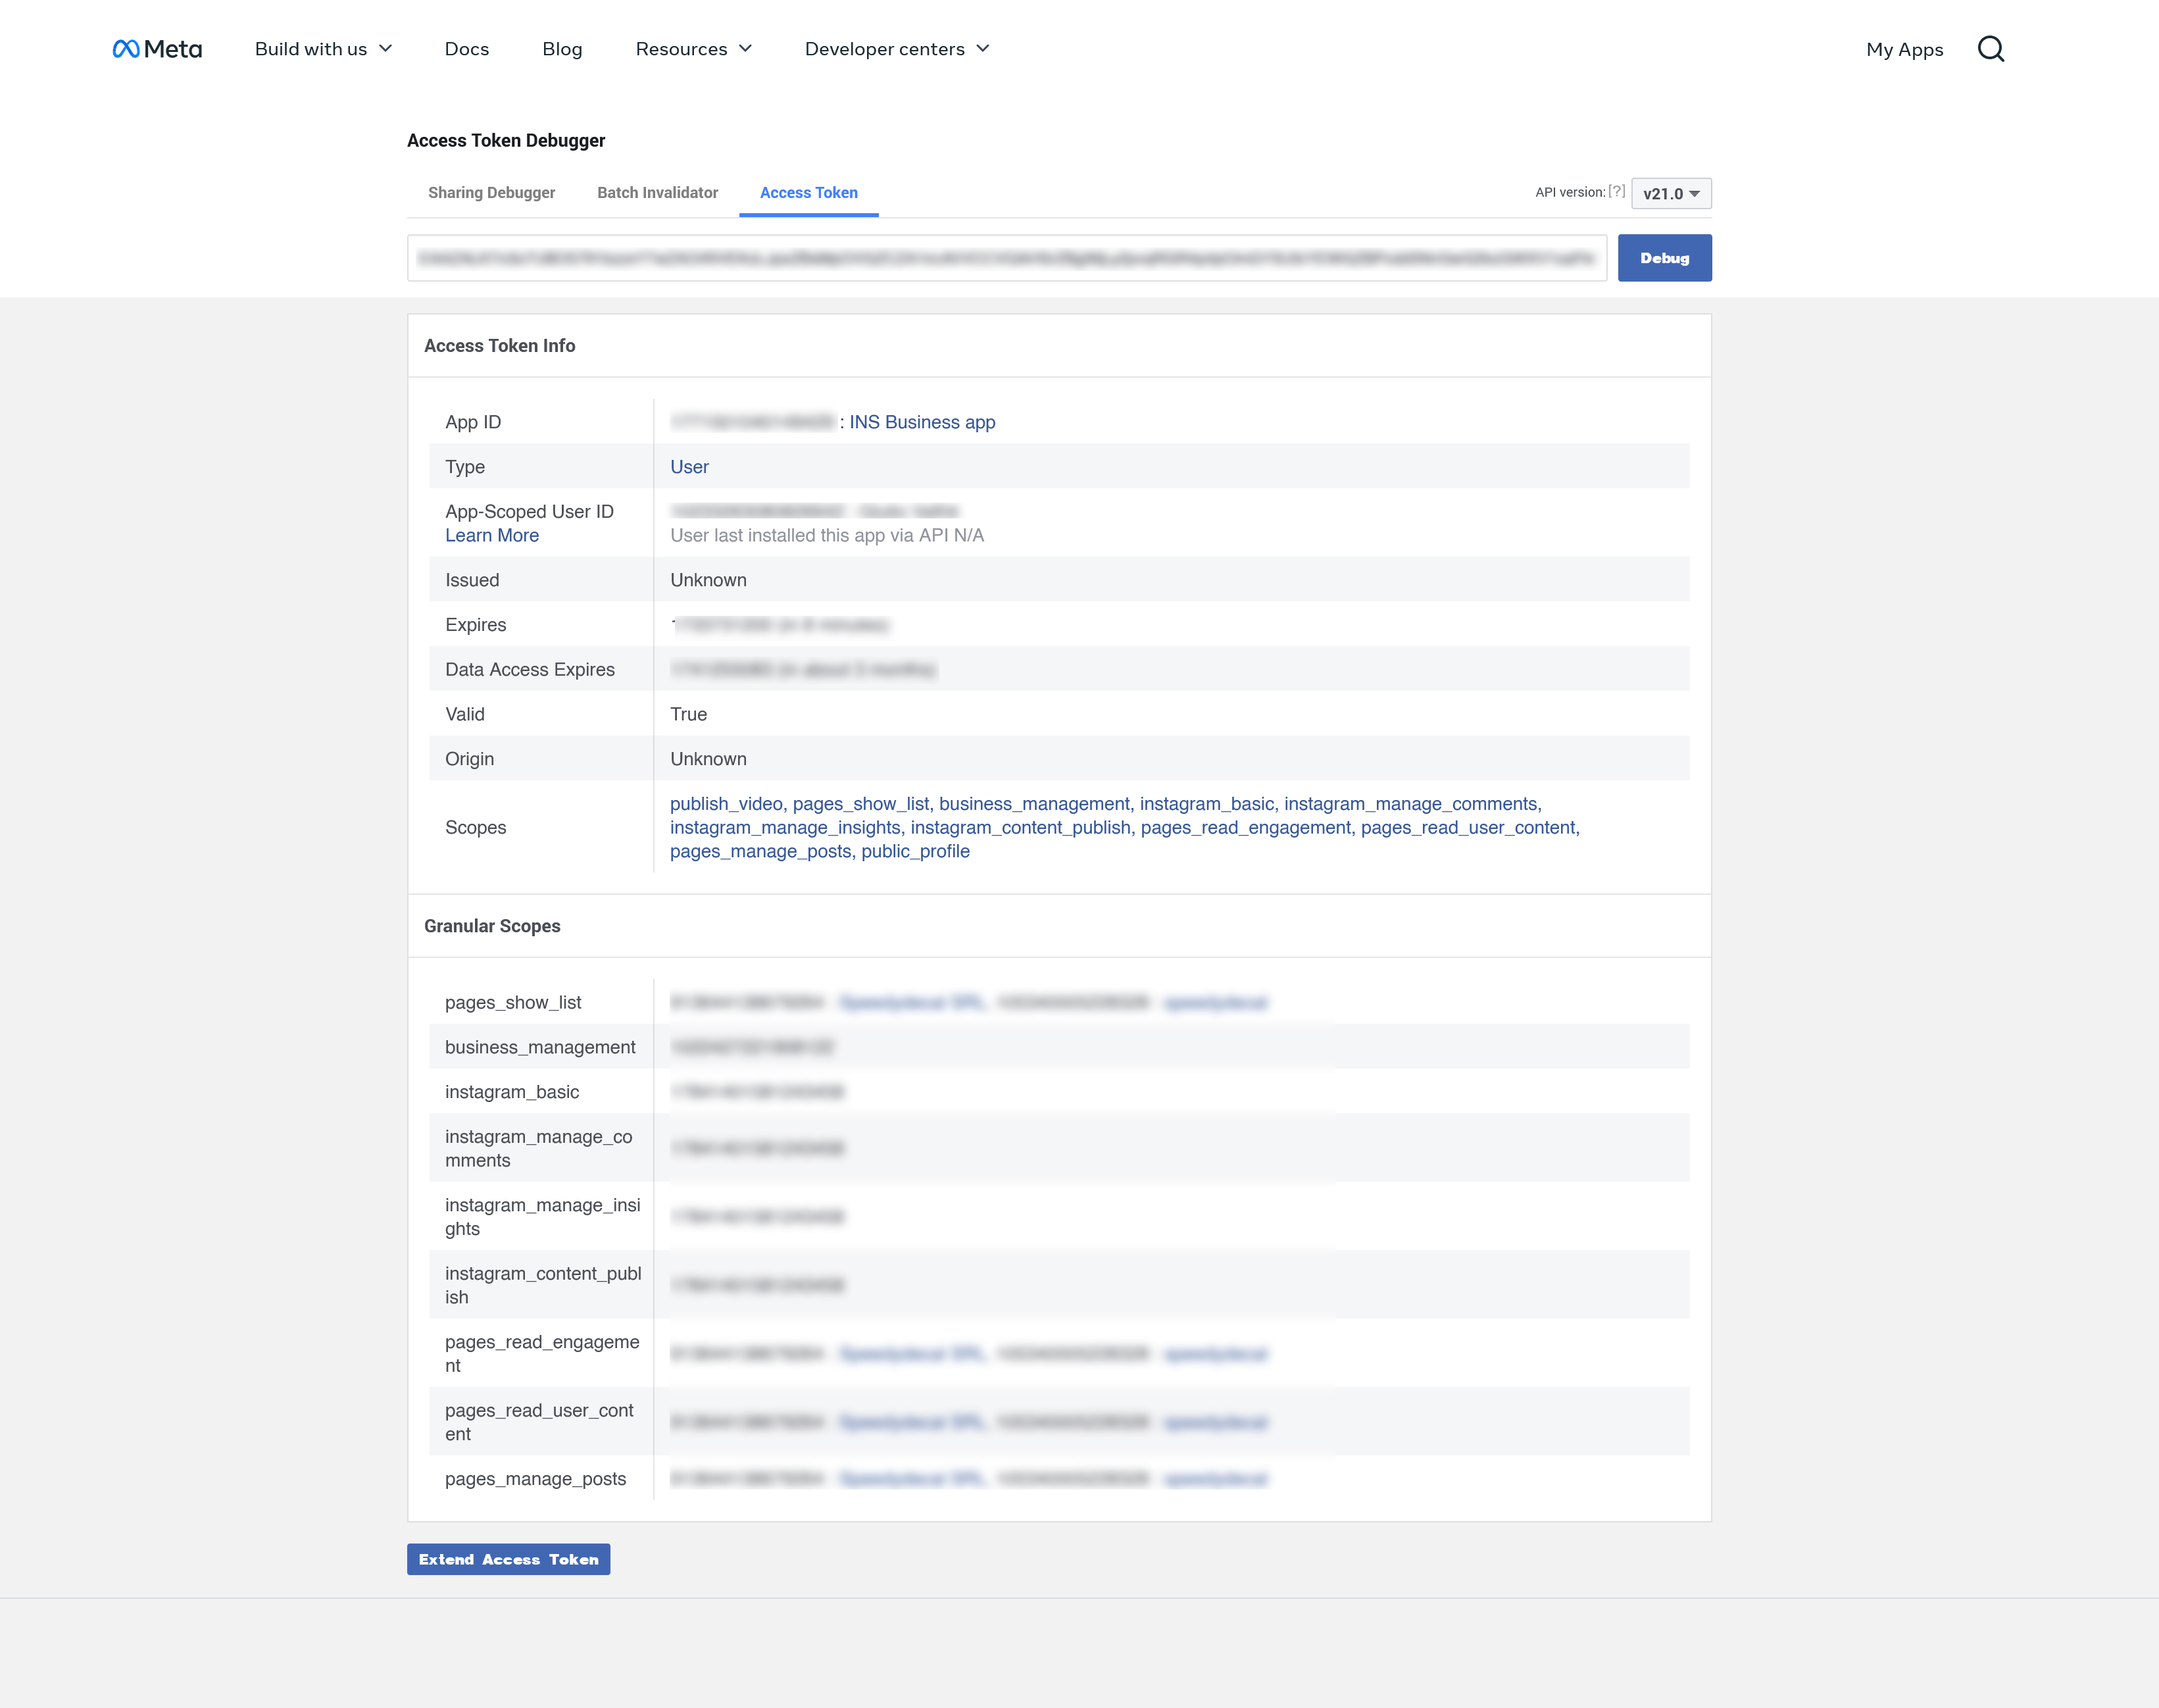
Paste your access token and click the “Debug” button to debug it, like the screenshot below.
Then, at the bottom, click the “Extend Access Token” button to obtain the long-lived access token.
Copy the long-lived access token and paste it into the configuration page of the “INS Shopping Slider” module.