How to Configure Outlook SMTP for Your PrestaShop Store
What is Outlook SMTP
When integrating email services into your application, using Outlook SMTP is a popular choice. To set this up, you'll need to create an Azure App, assign appropriate API permissions, and retrieve several key parameters. This guide walks you through each step to achieve this.
Step 1: Sign in to the Azure Portal
1. Visit the Azure Portal.
2. Sign in with your Azure account credentials.
Step 2: Register a new application
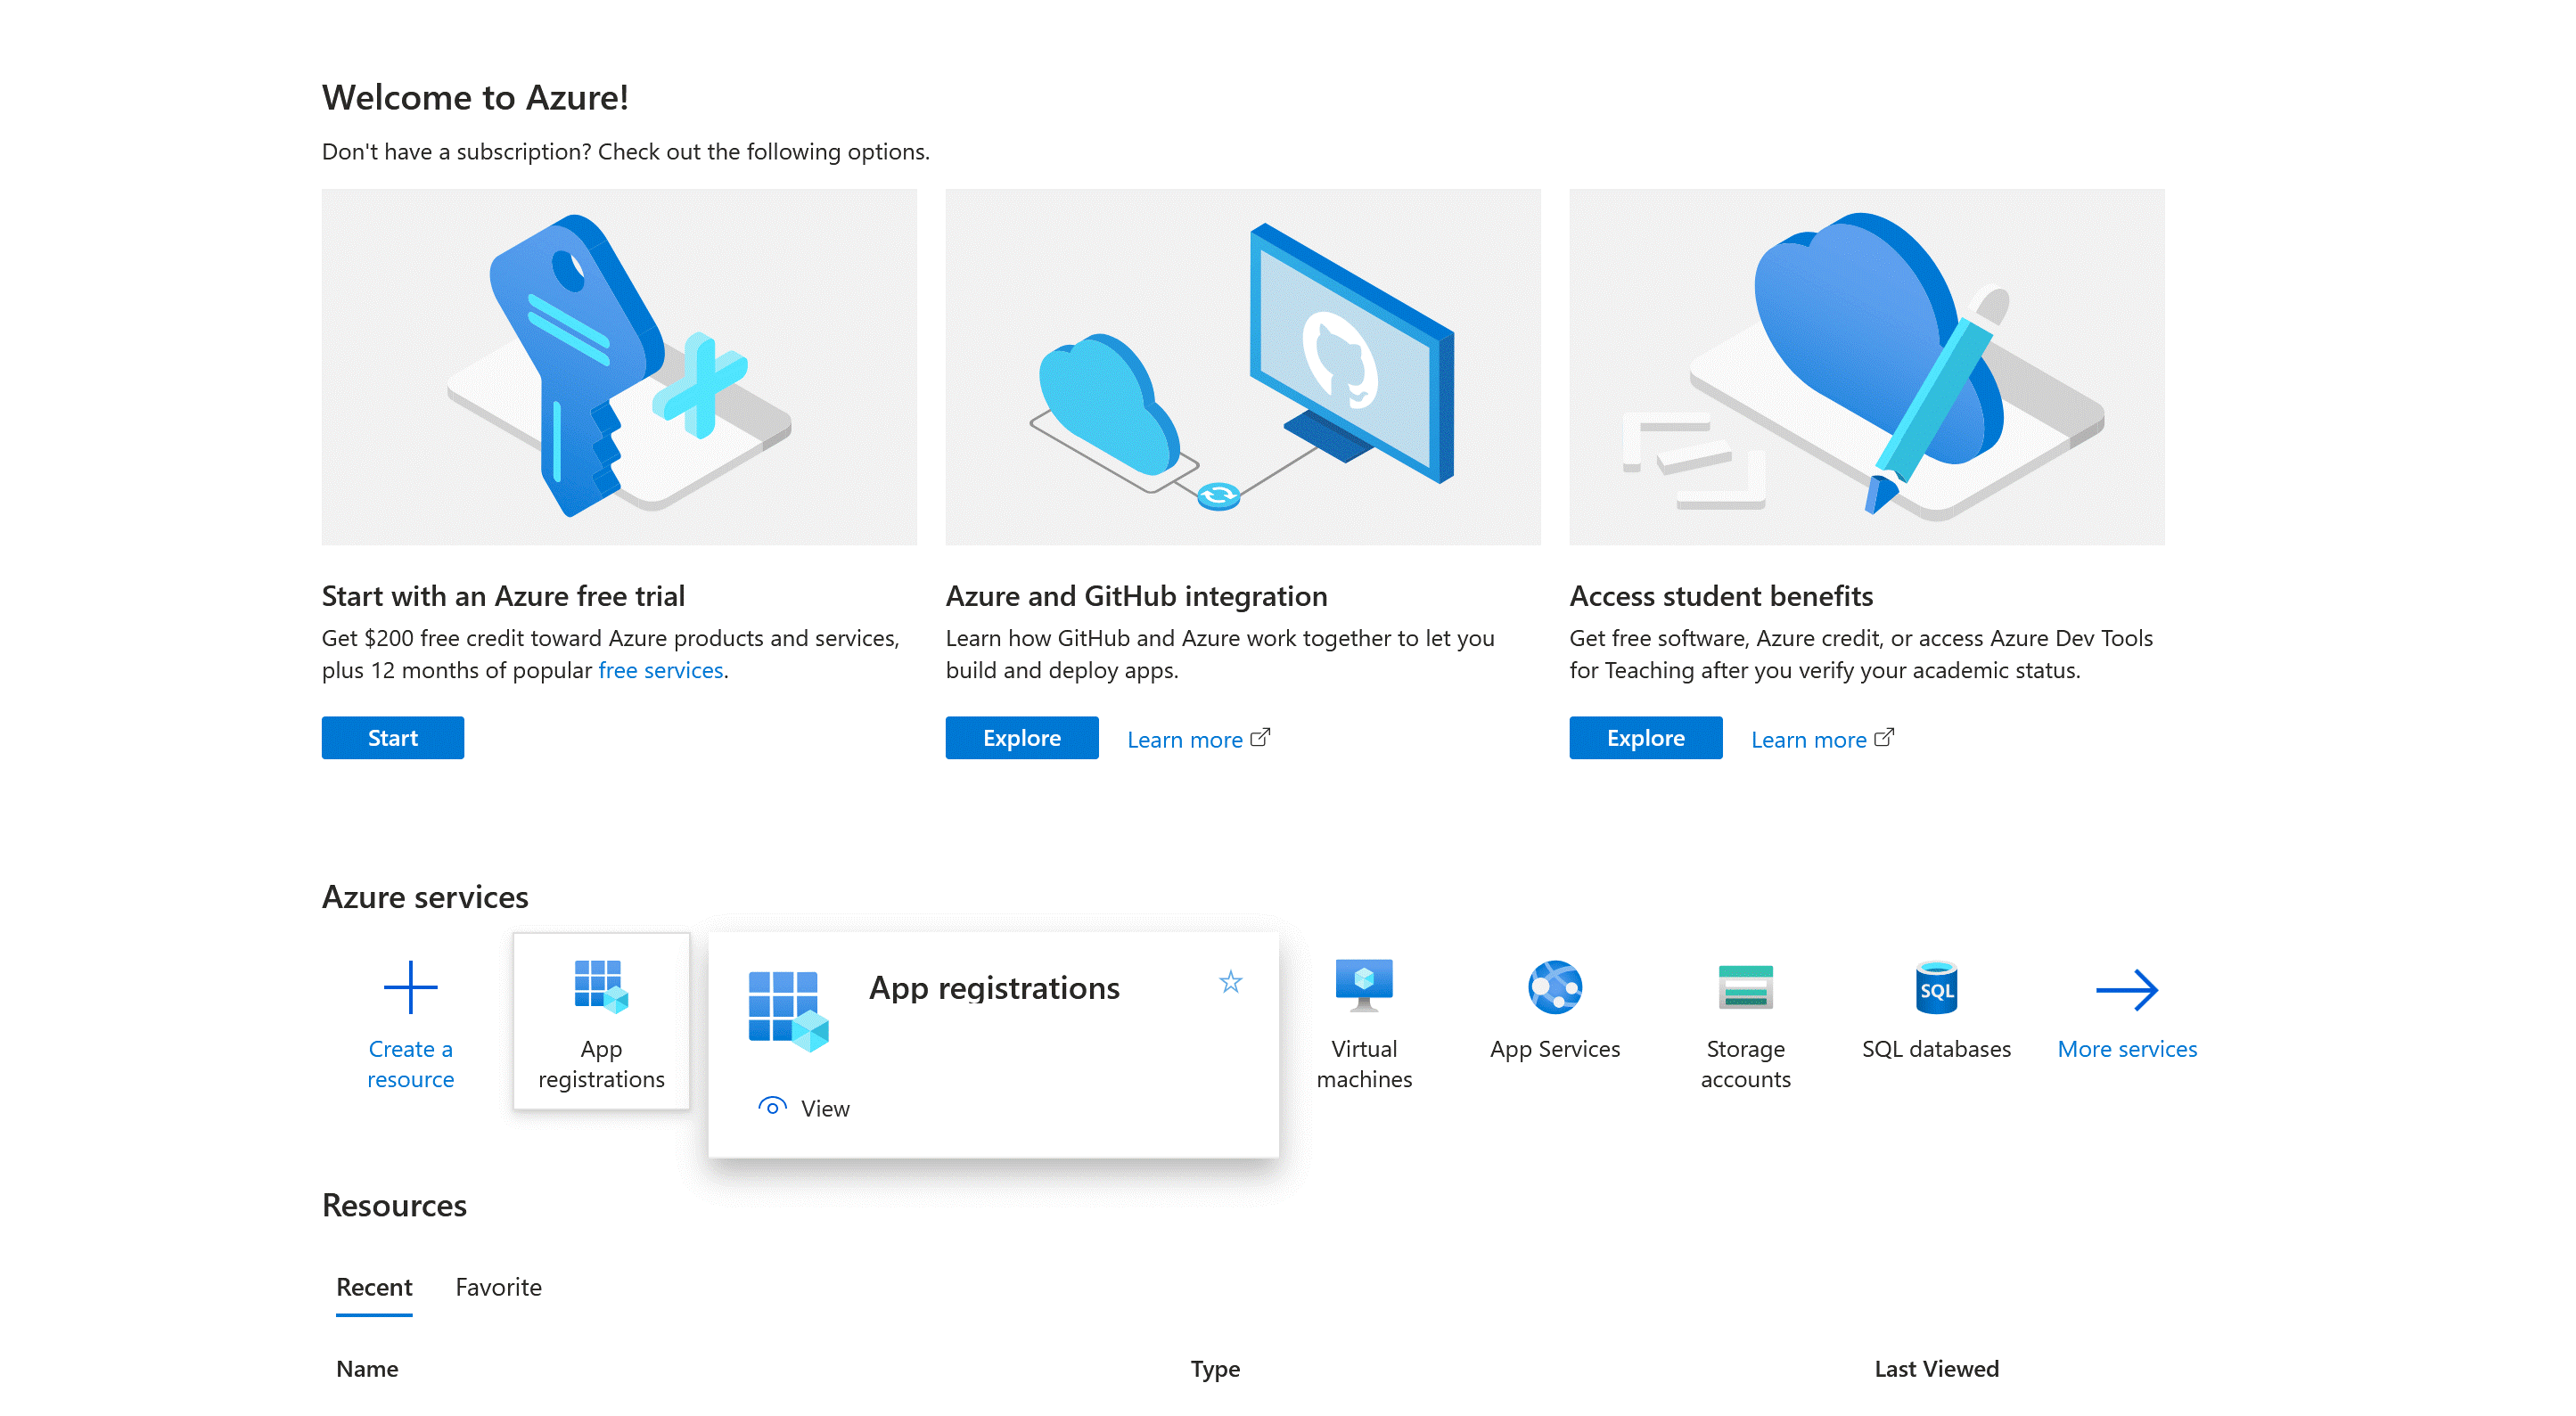
On the “Azure services” section, click on “App registration”.
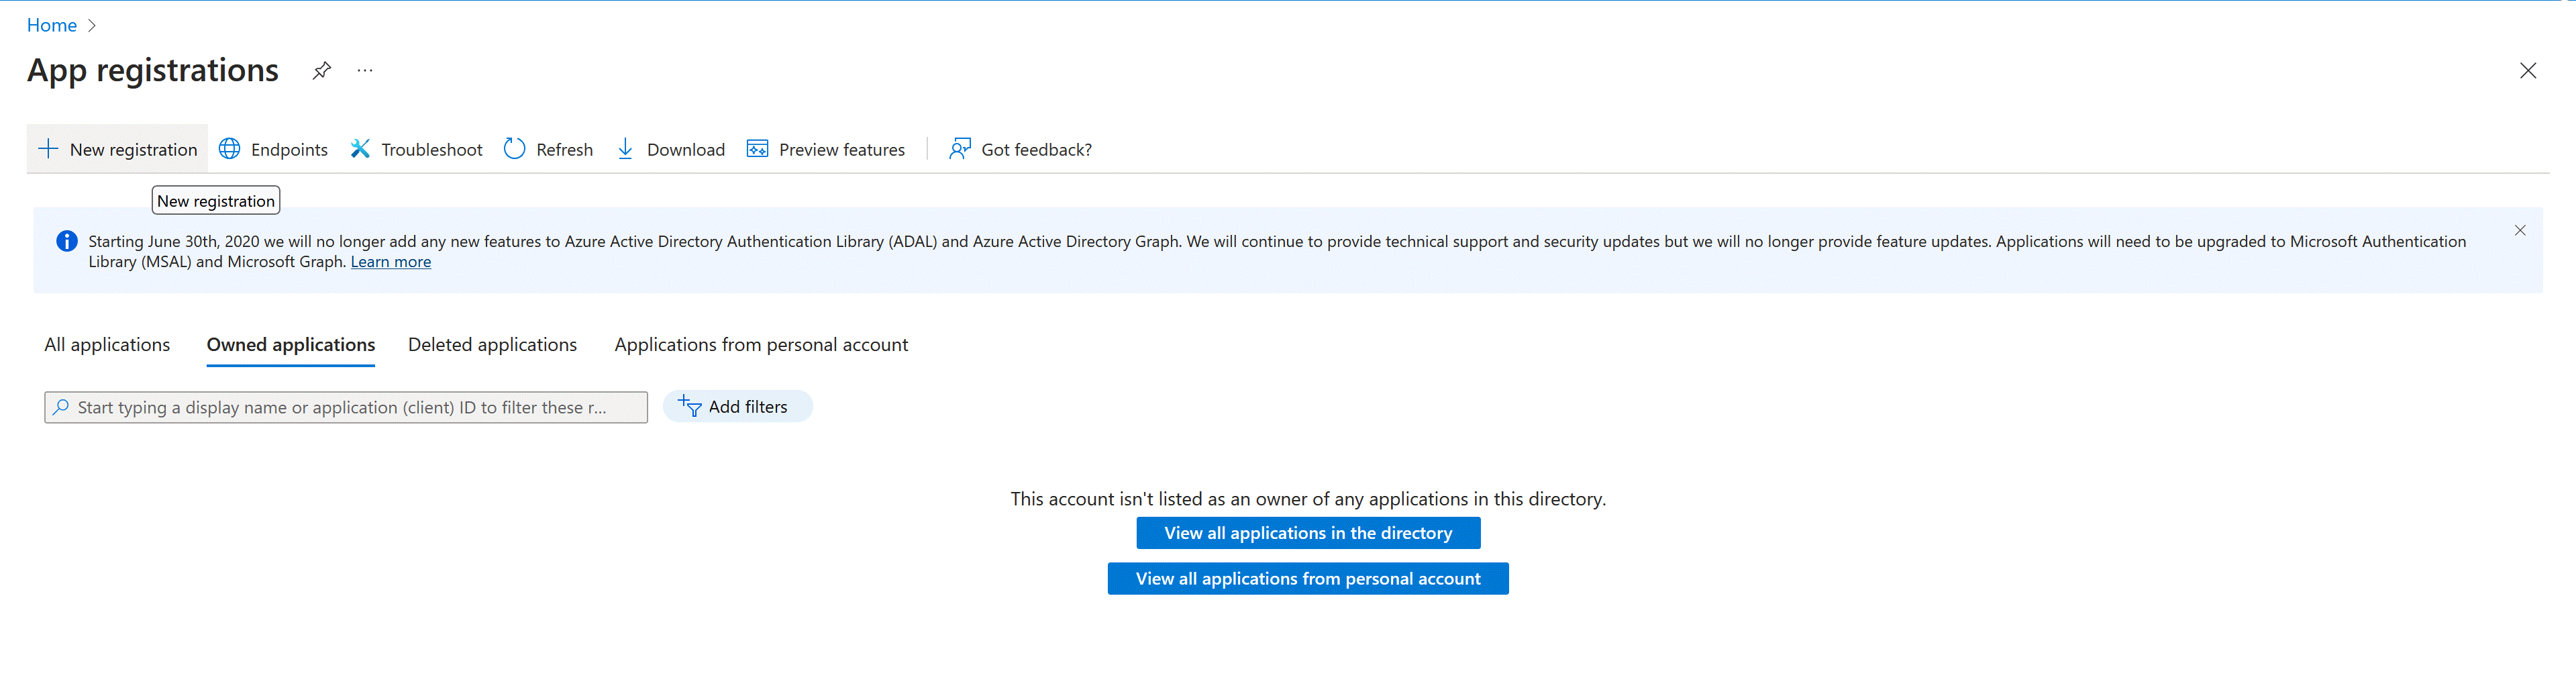
Click on the “+ New registration” tab.
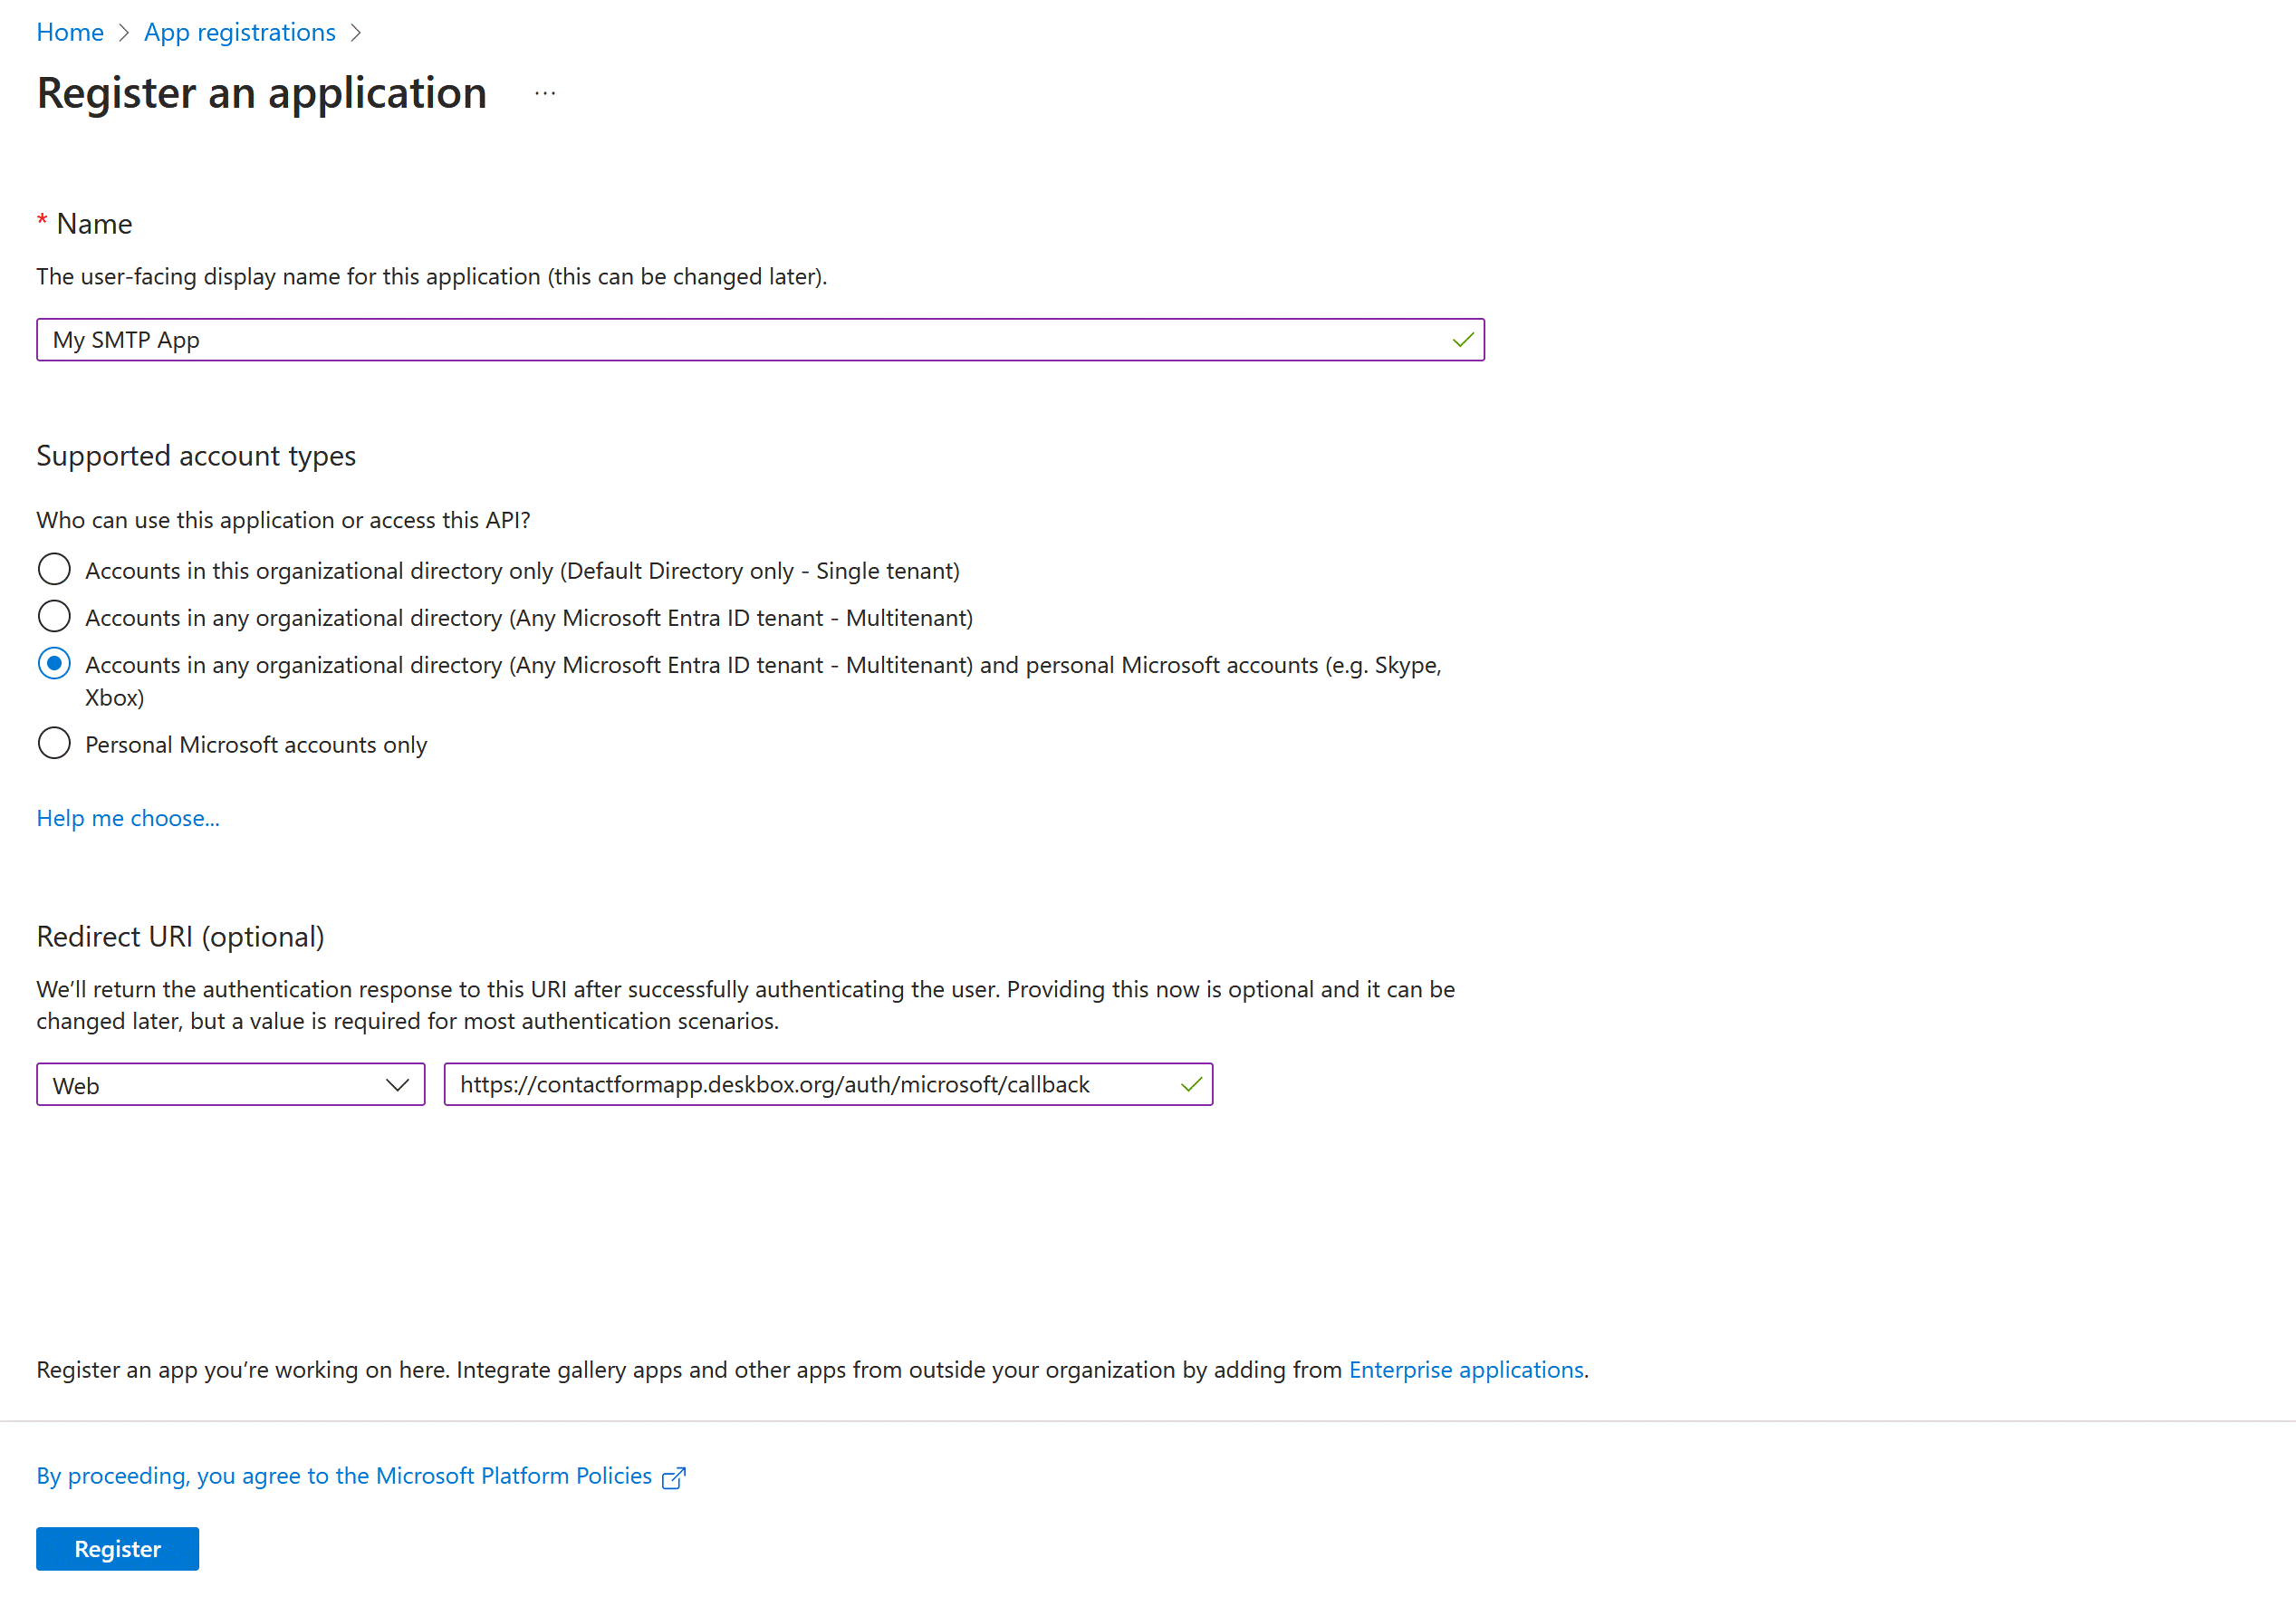
Fill in the following details:
- Name: Enter a descriptive name for your app (e.g., My SMTP App).
- Supported account types: Choose Accounts in any organizational directory (Any Microsoft Entra ID tenant - Multitenant) and personal Microsoft accounts (e.g. Skype, Xbox).
- Redirect URI: Select Web platform and enter a redirect URI provided by our Easy SMTP module. (e.g., https://contactformapp.deskbox.org/auth/microsoft/callback).
- Click “Register” to create the app.
Step 3: Retrieve app registration details
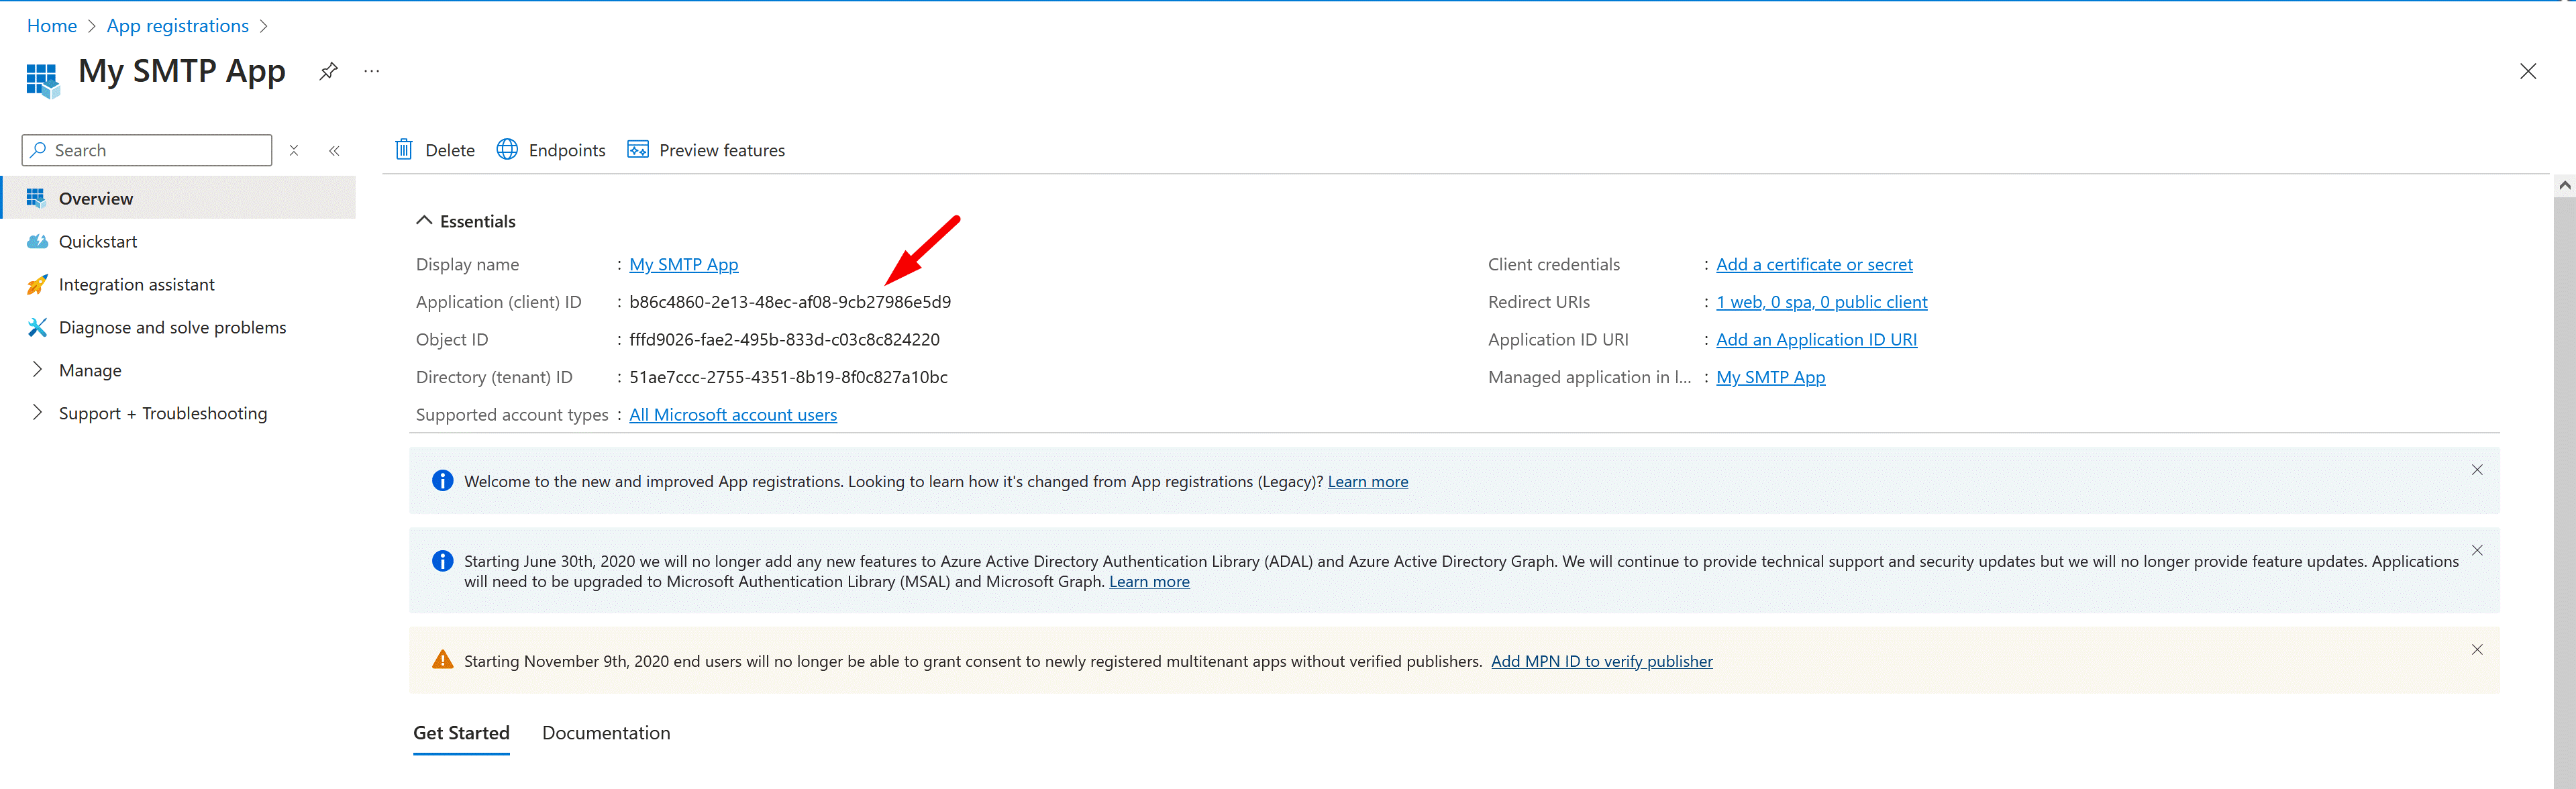
Once your app is created, you'll be redirected to its Overview page. Here, note down the following details:
- Application (client) ID: This is your App ID.
- Directory (tenant) ID: This is your Directory ID.
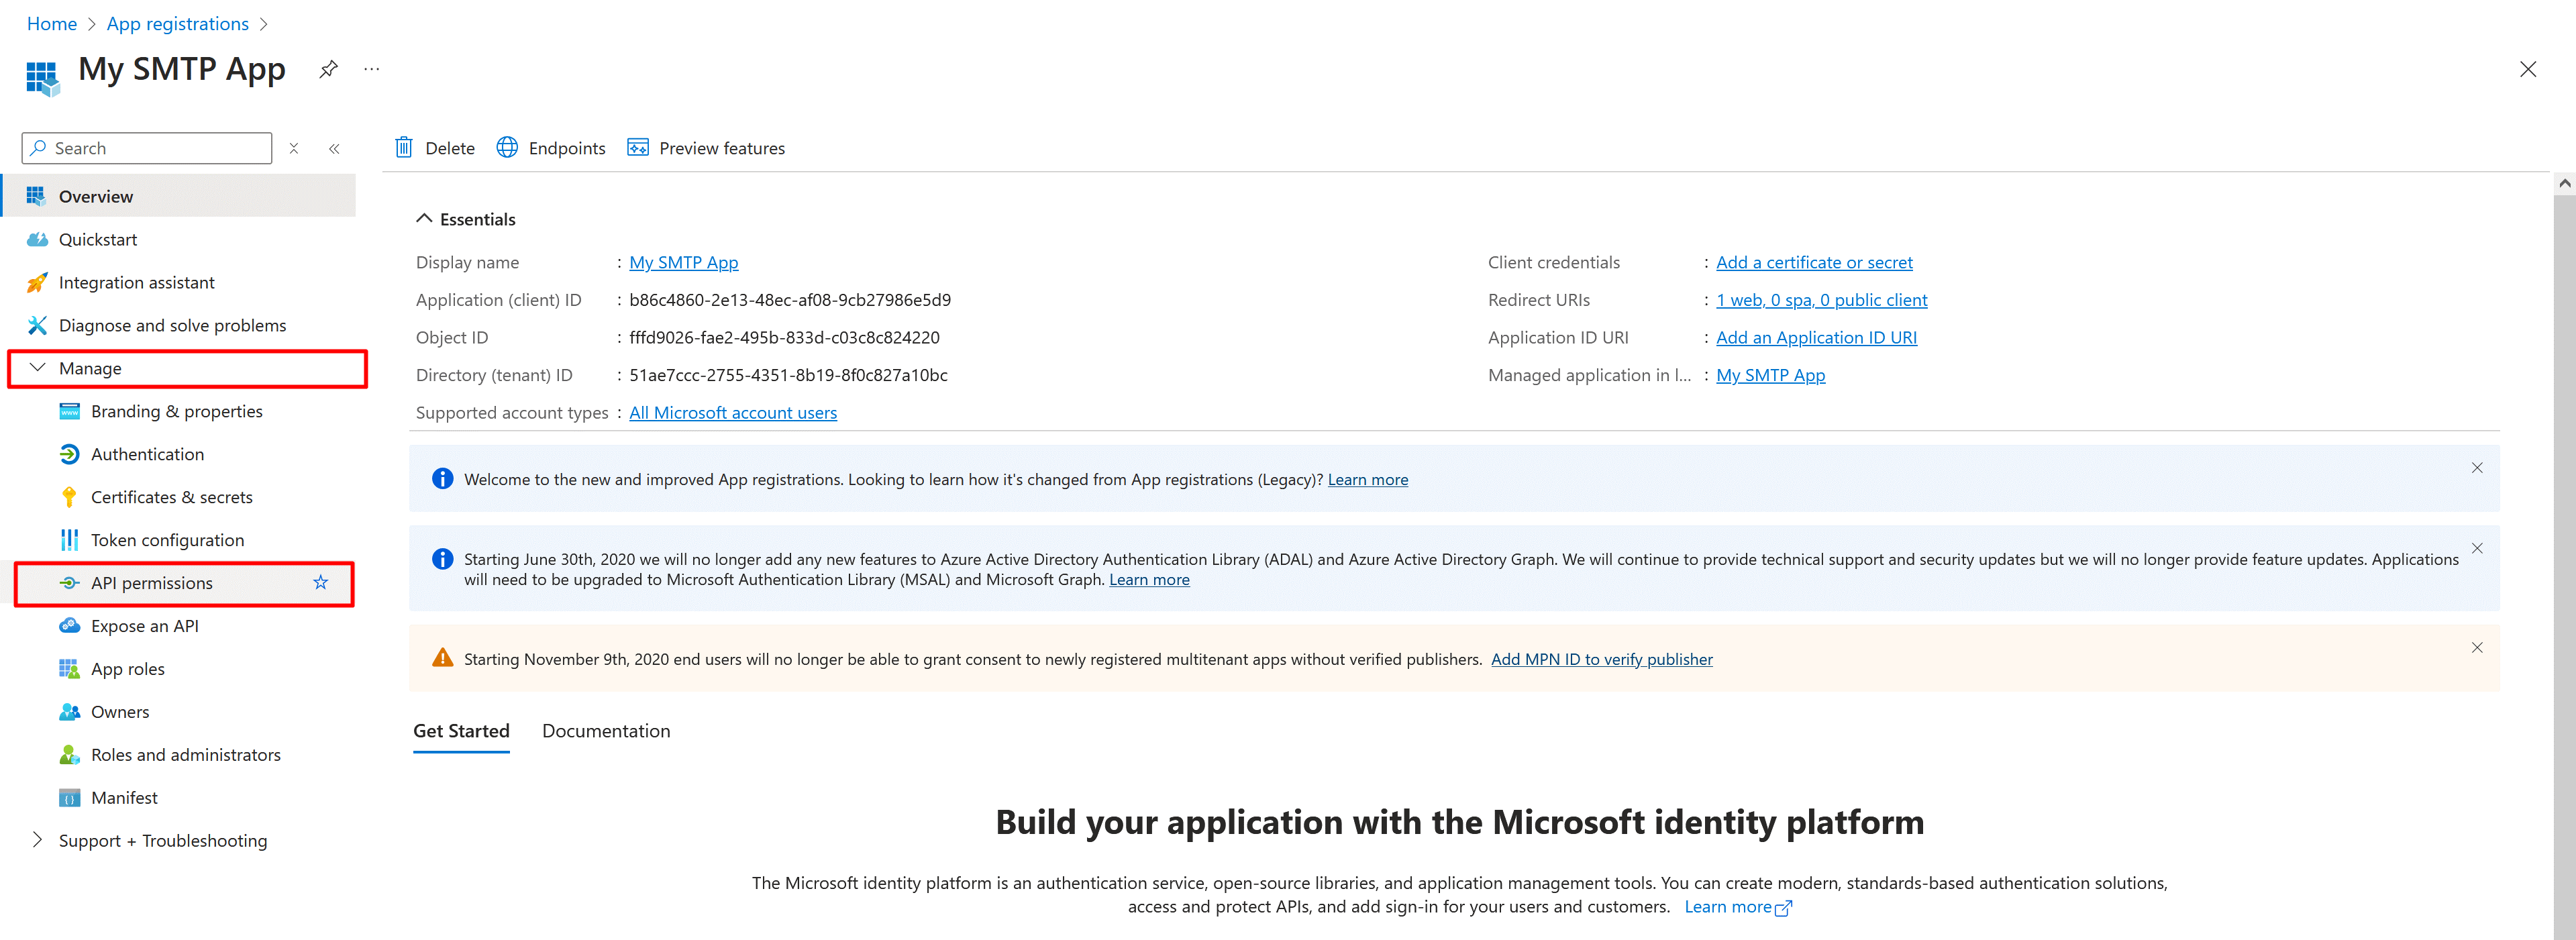
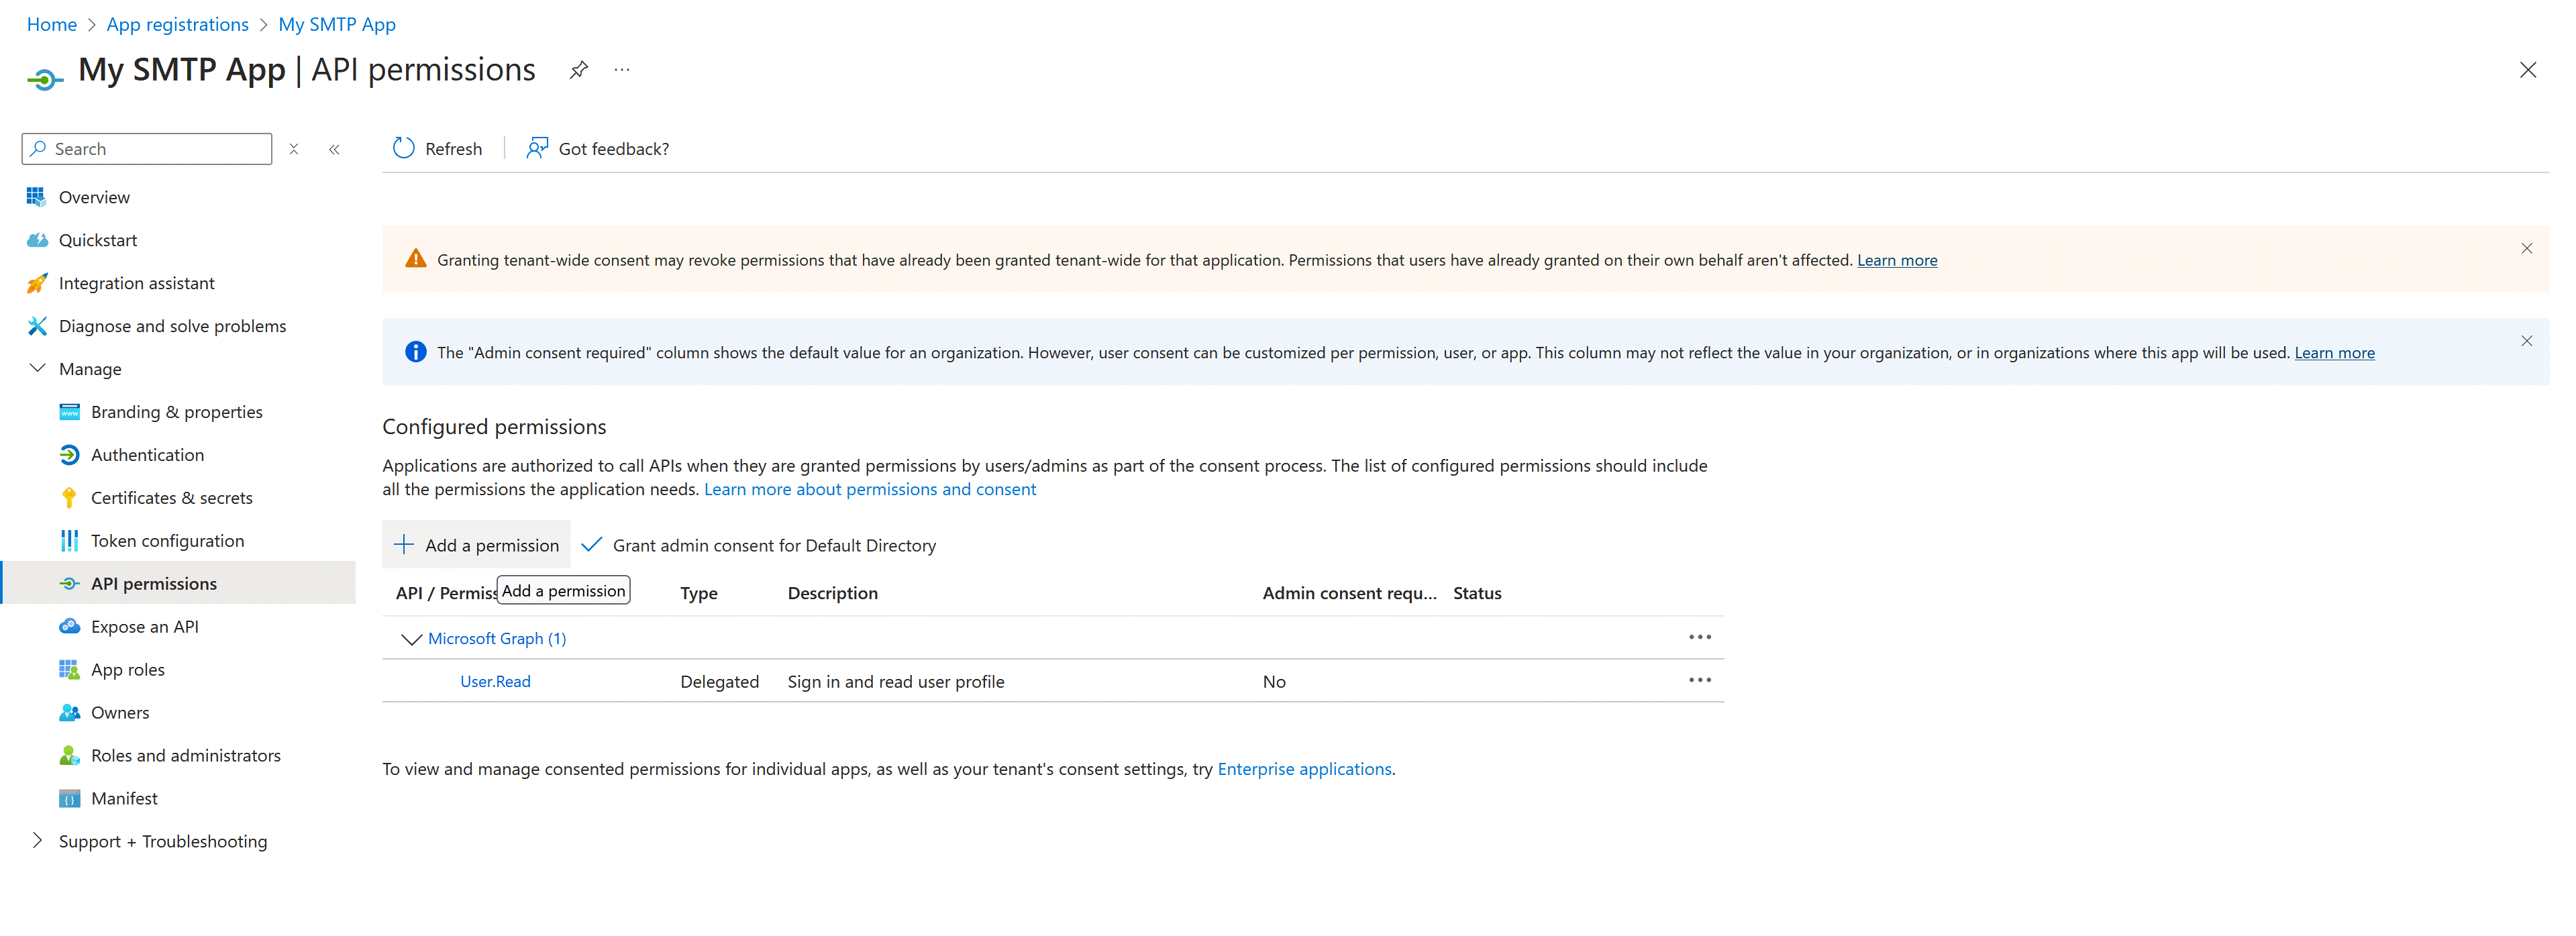
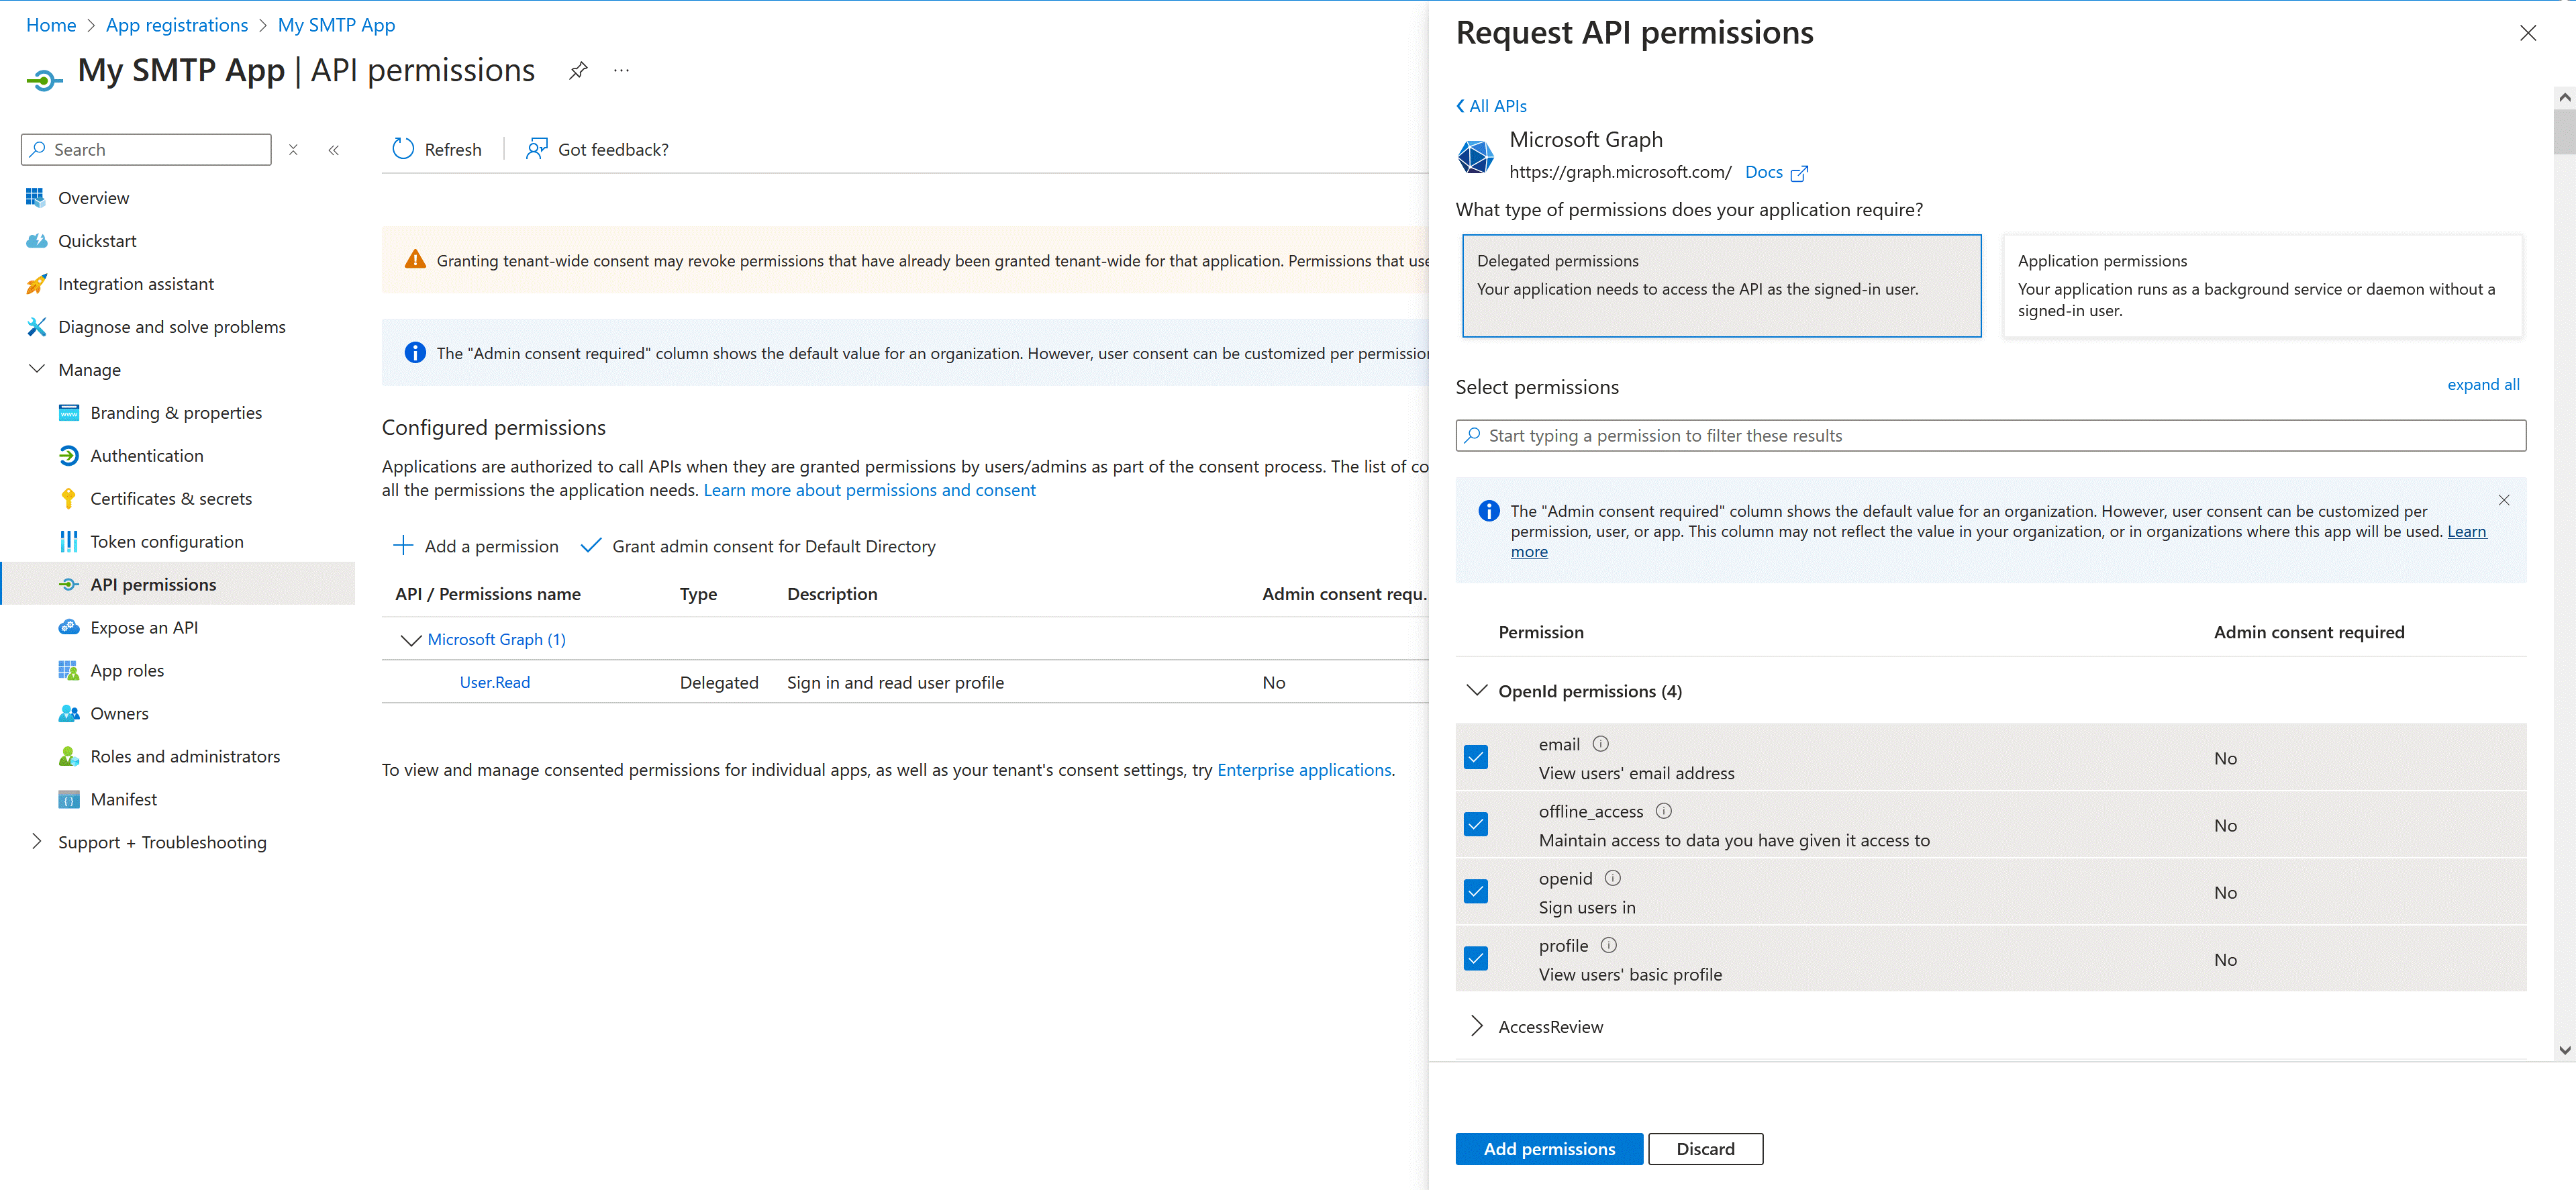
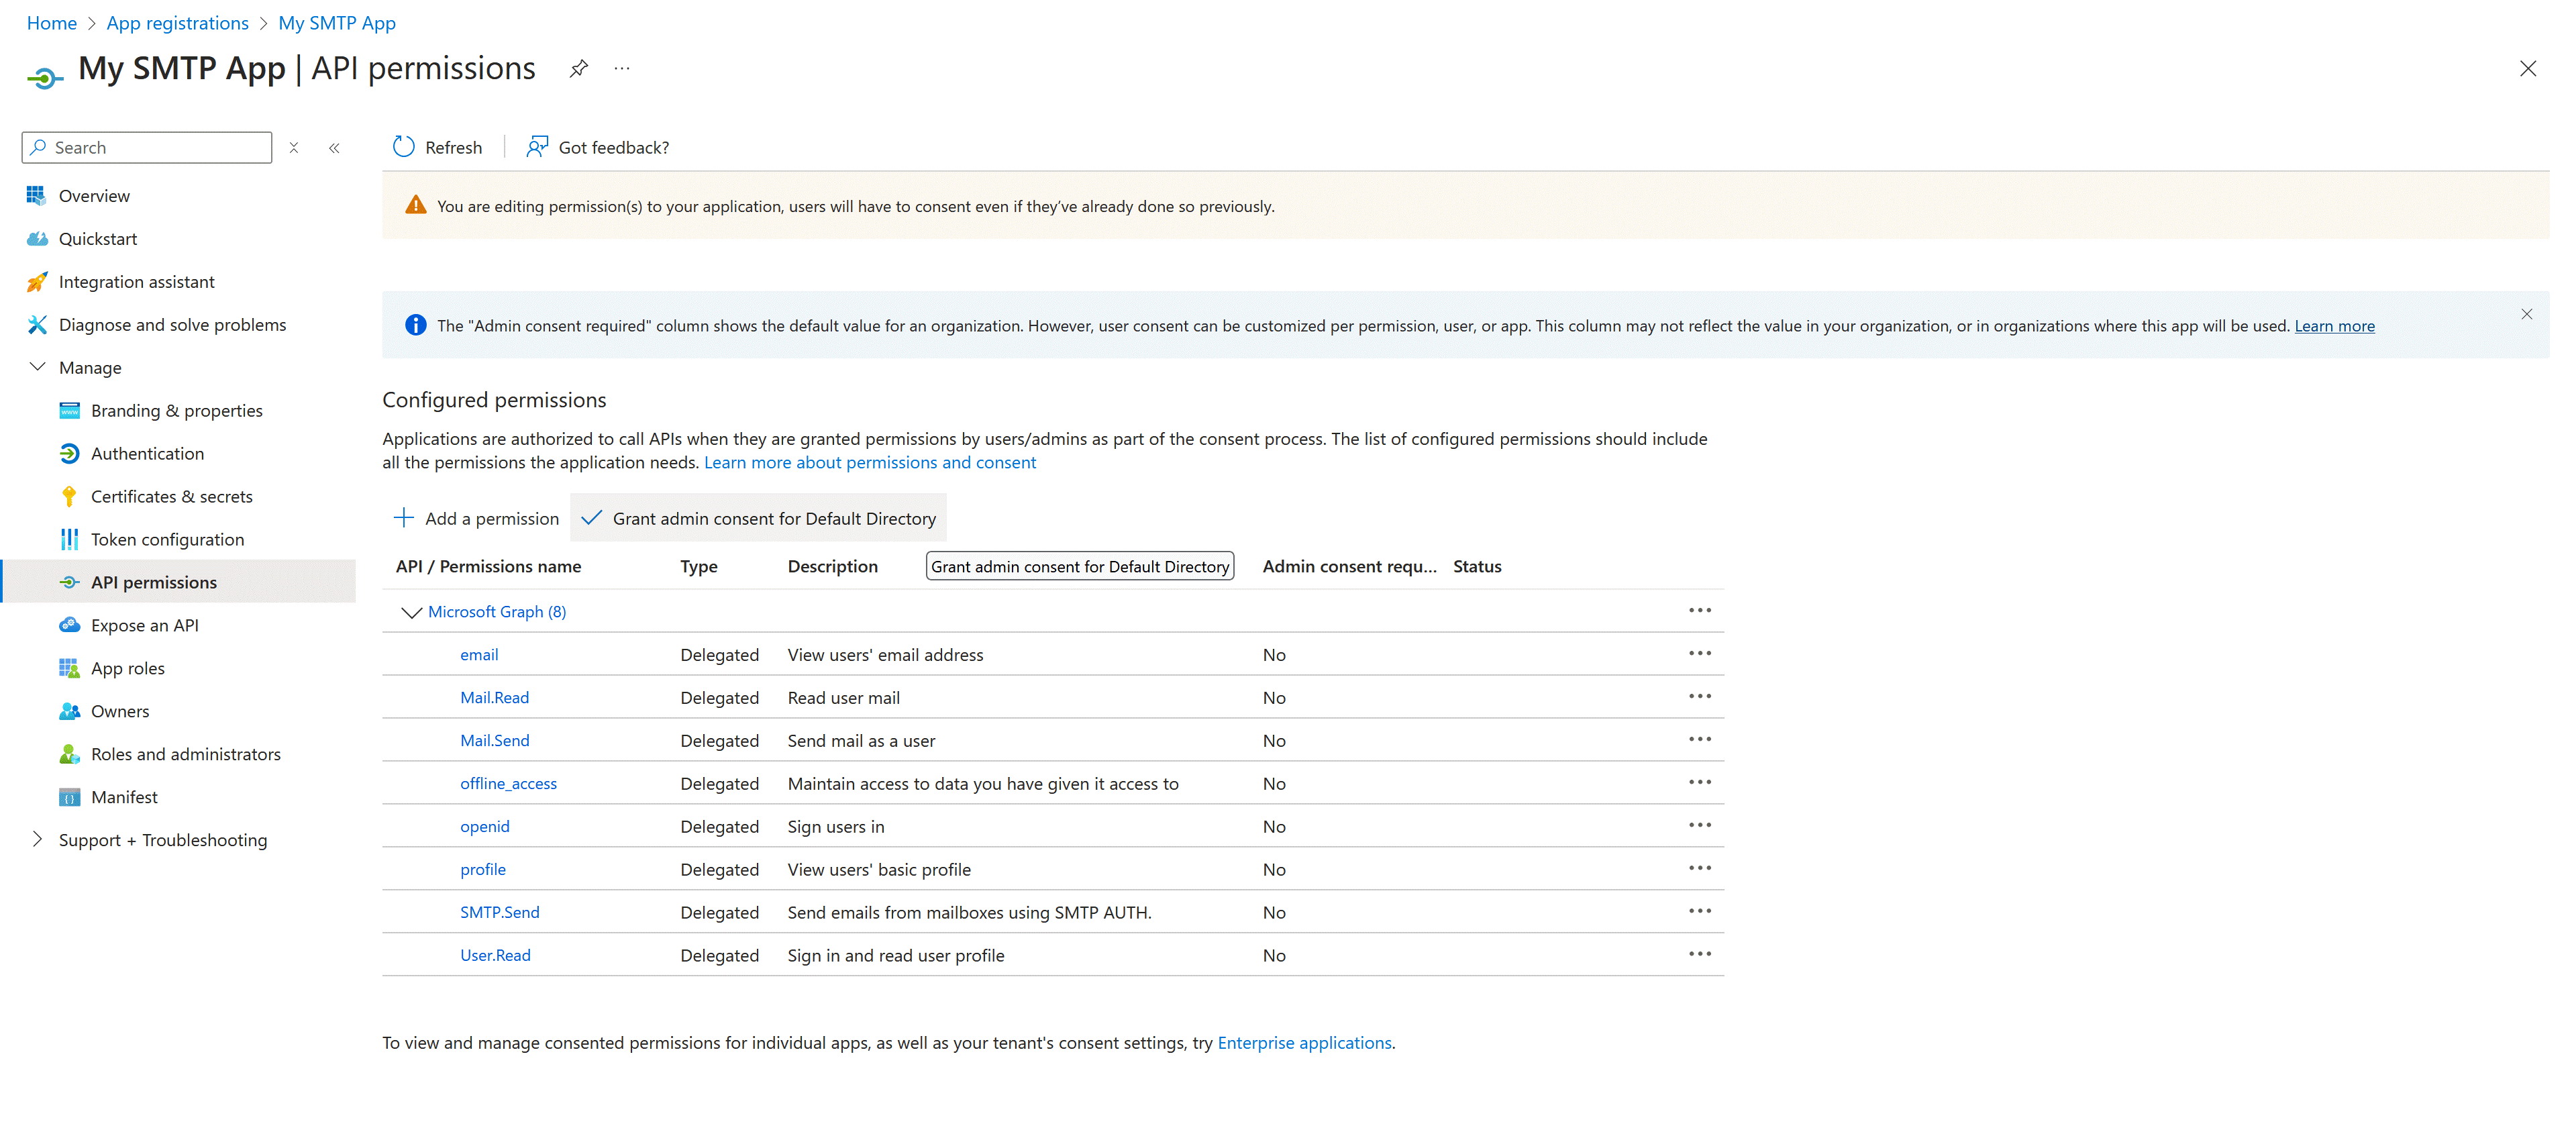
Step 4: Configure API permissions
From the left menu, select “Manage > API permissions” tab.
Click “+ Add a permission” and choose “Microsoft Graph”.
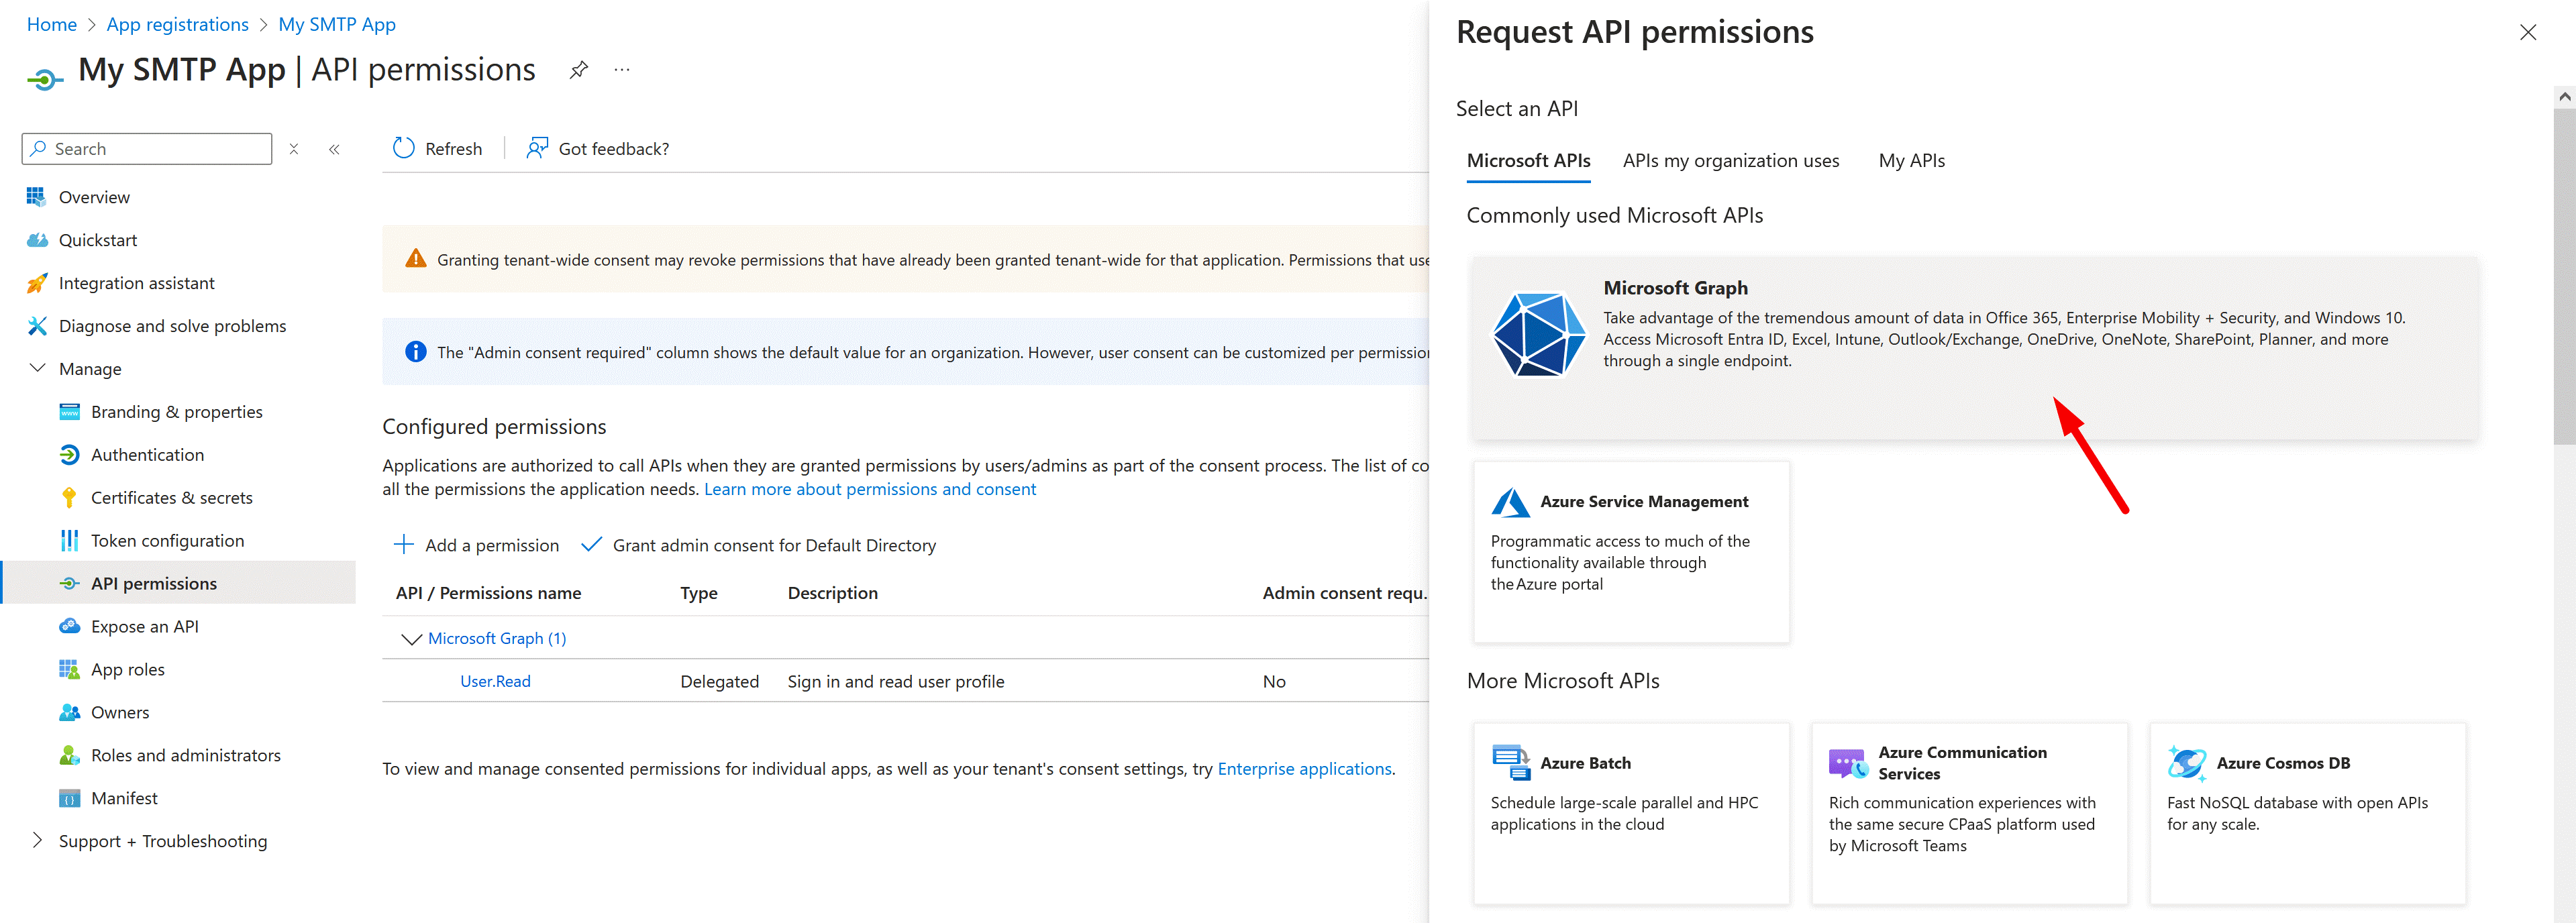
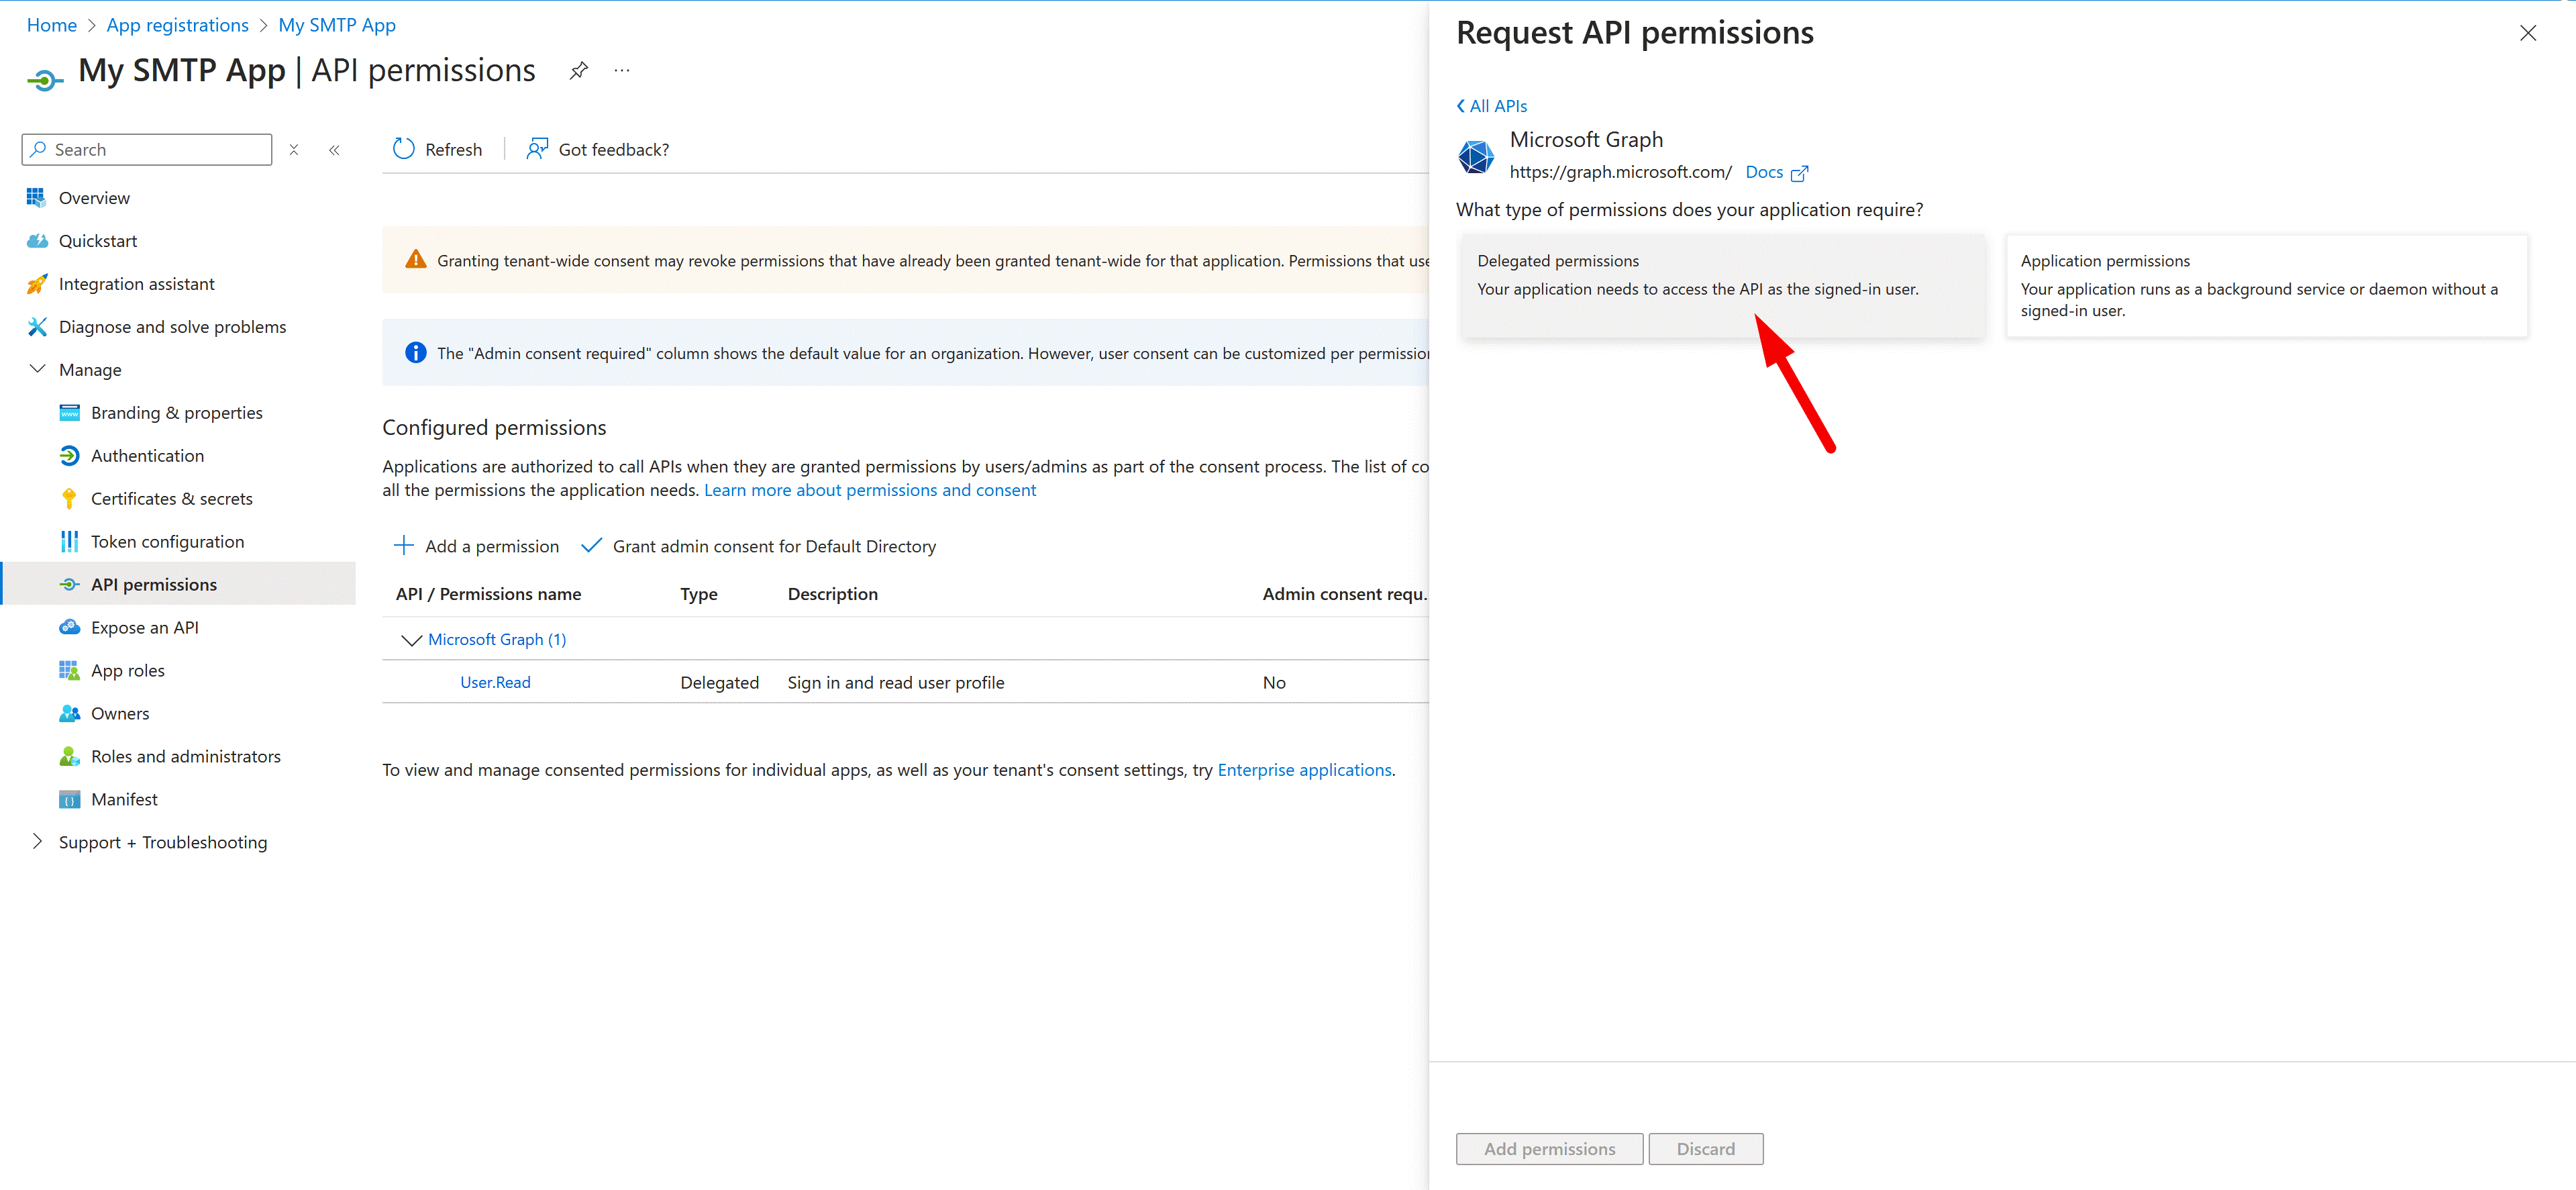
Select “Delegated permissions” and search for the following permissions:
- Mail.Read
- Mail.Send
- offline_access
- openid
- profile
- SMTP.Send
- User.Read
Click “Add permissions” button to finish.
(Optional) If you're the administrator, click “Grant admin consent for Default Directory” to approve the permissions.
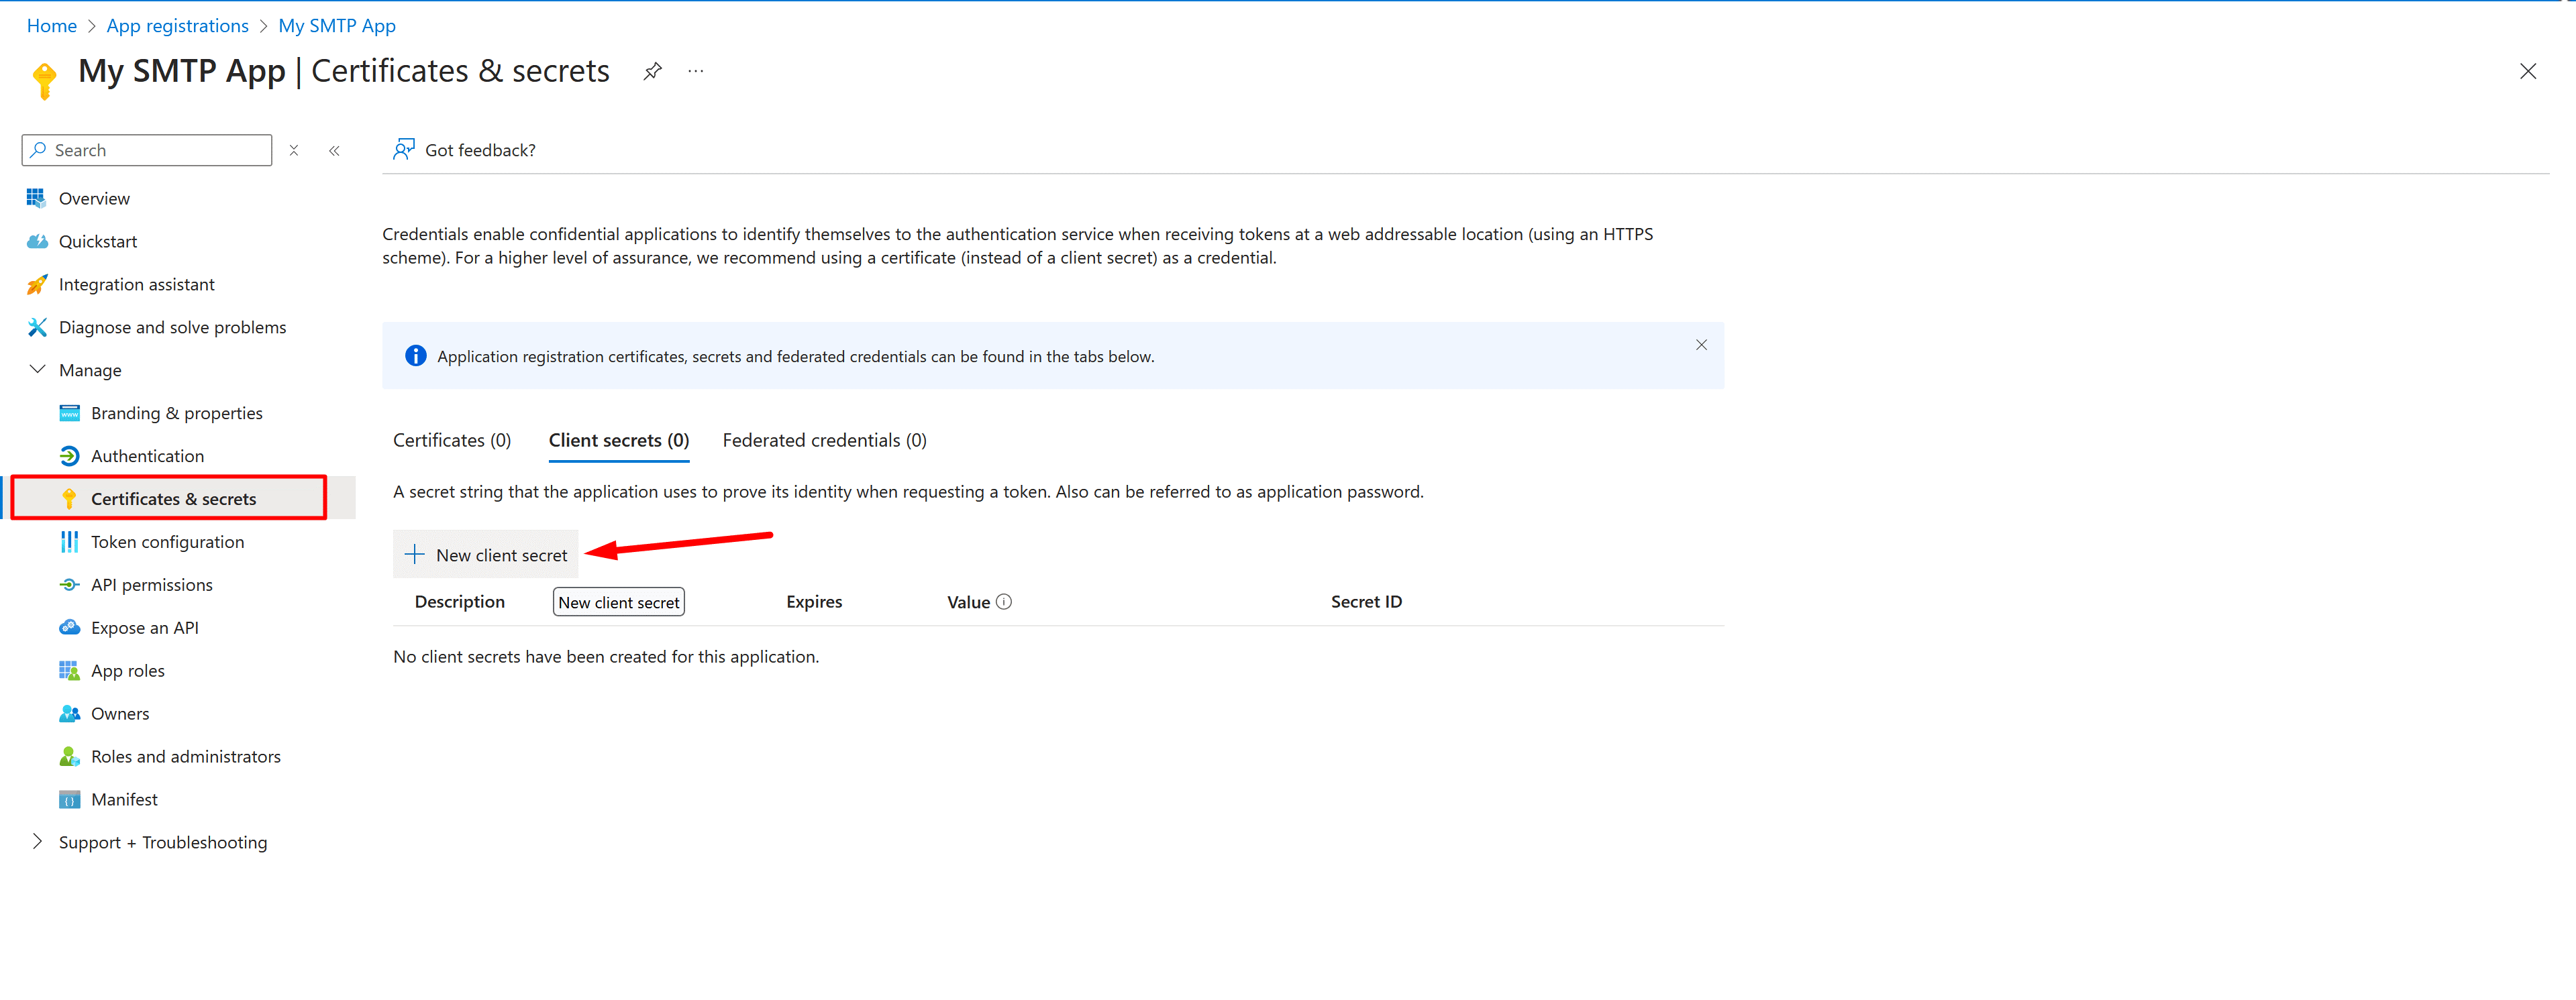
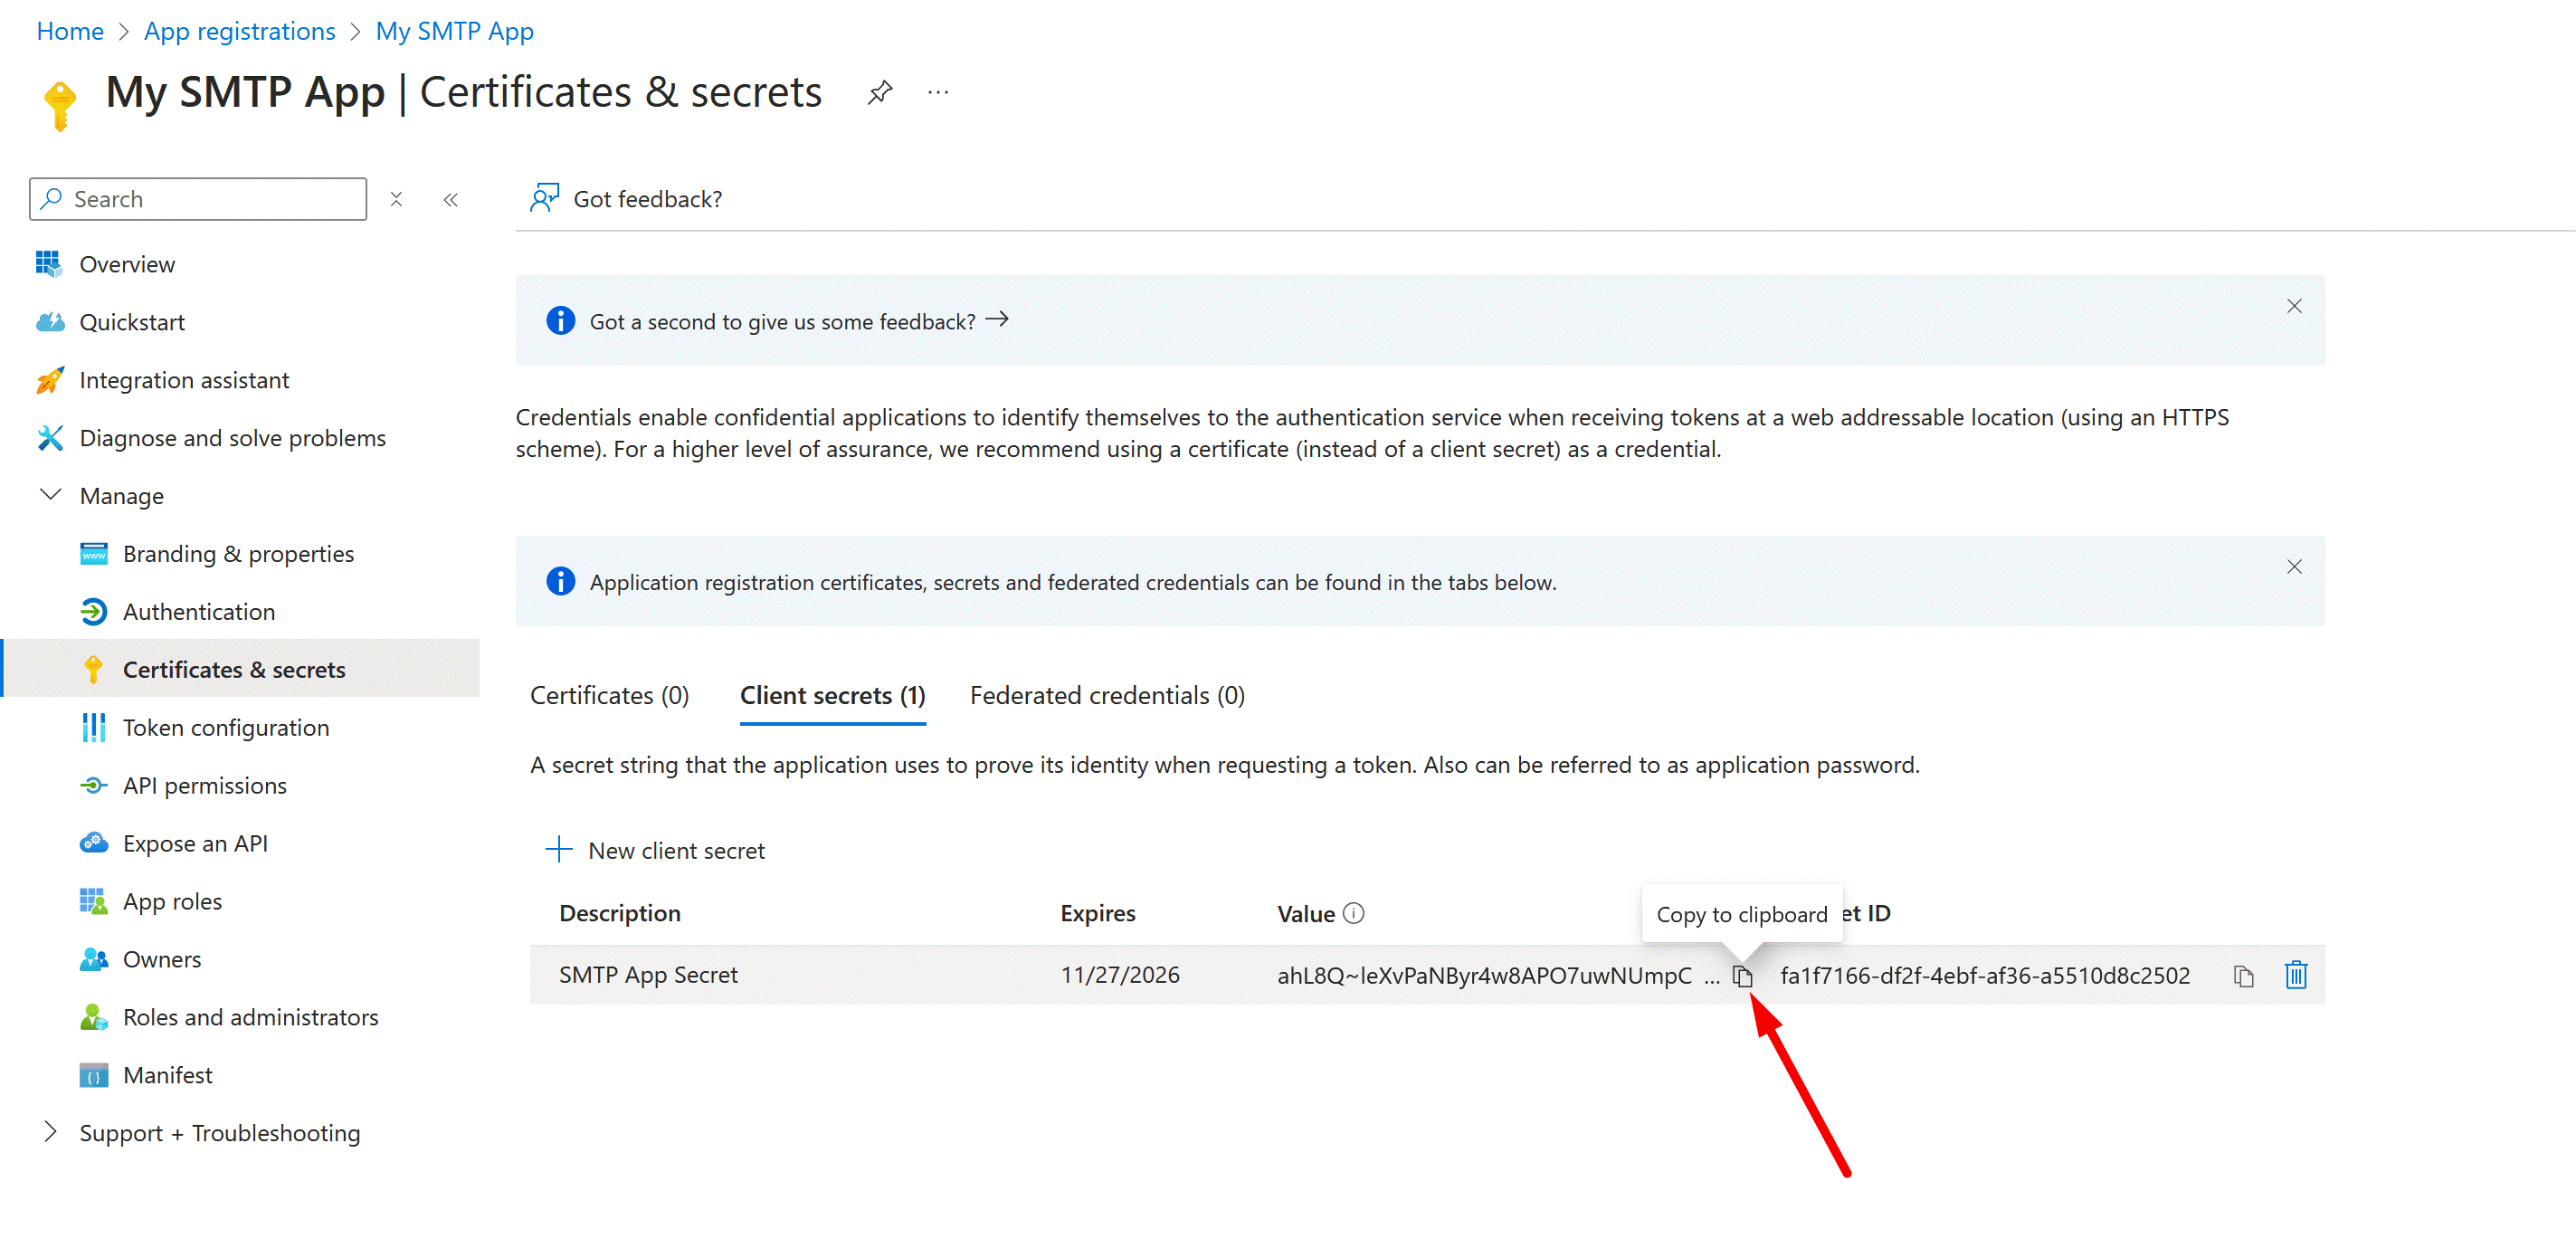
Step 5: Create a Client secret
- Navigate to the “Certificates & secrets” tab.
- Under “Client secrets”, click “+ New client secret”.
- Add a description (e.g., SMTP App Secret) and set an expiration period.
- Click “Add”.
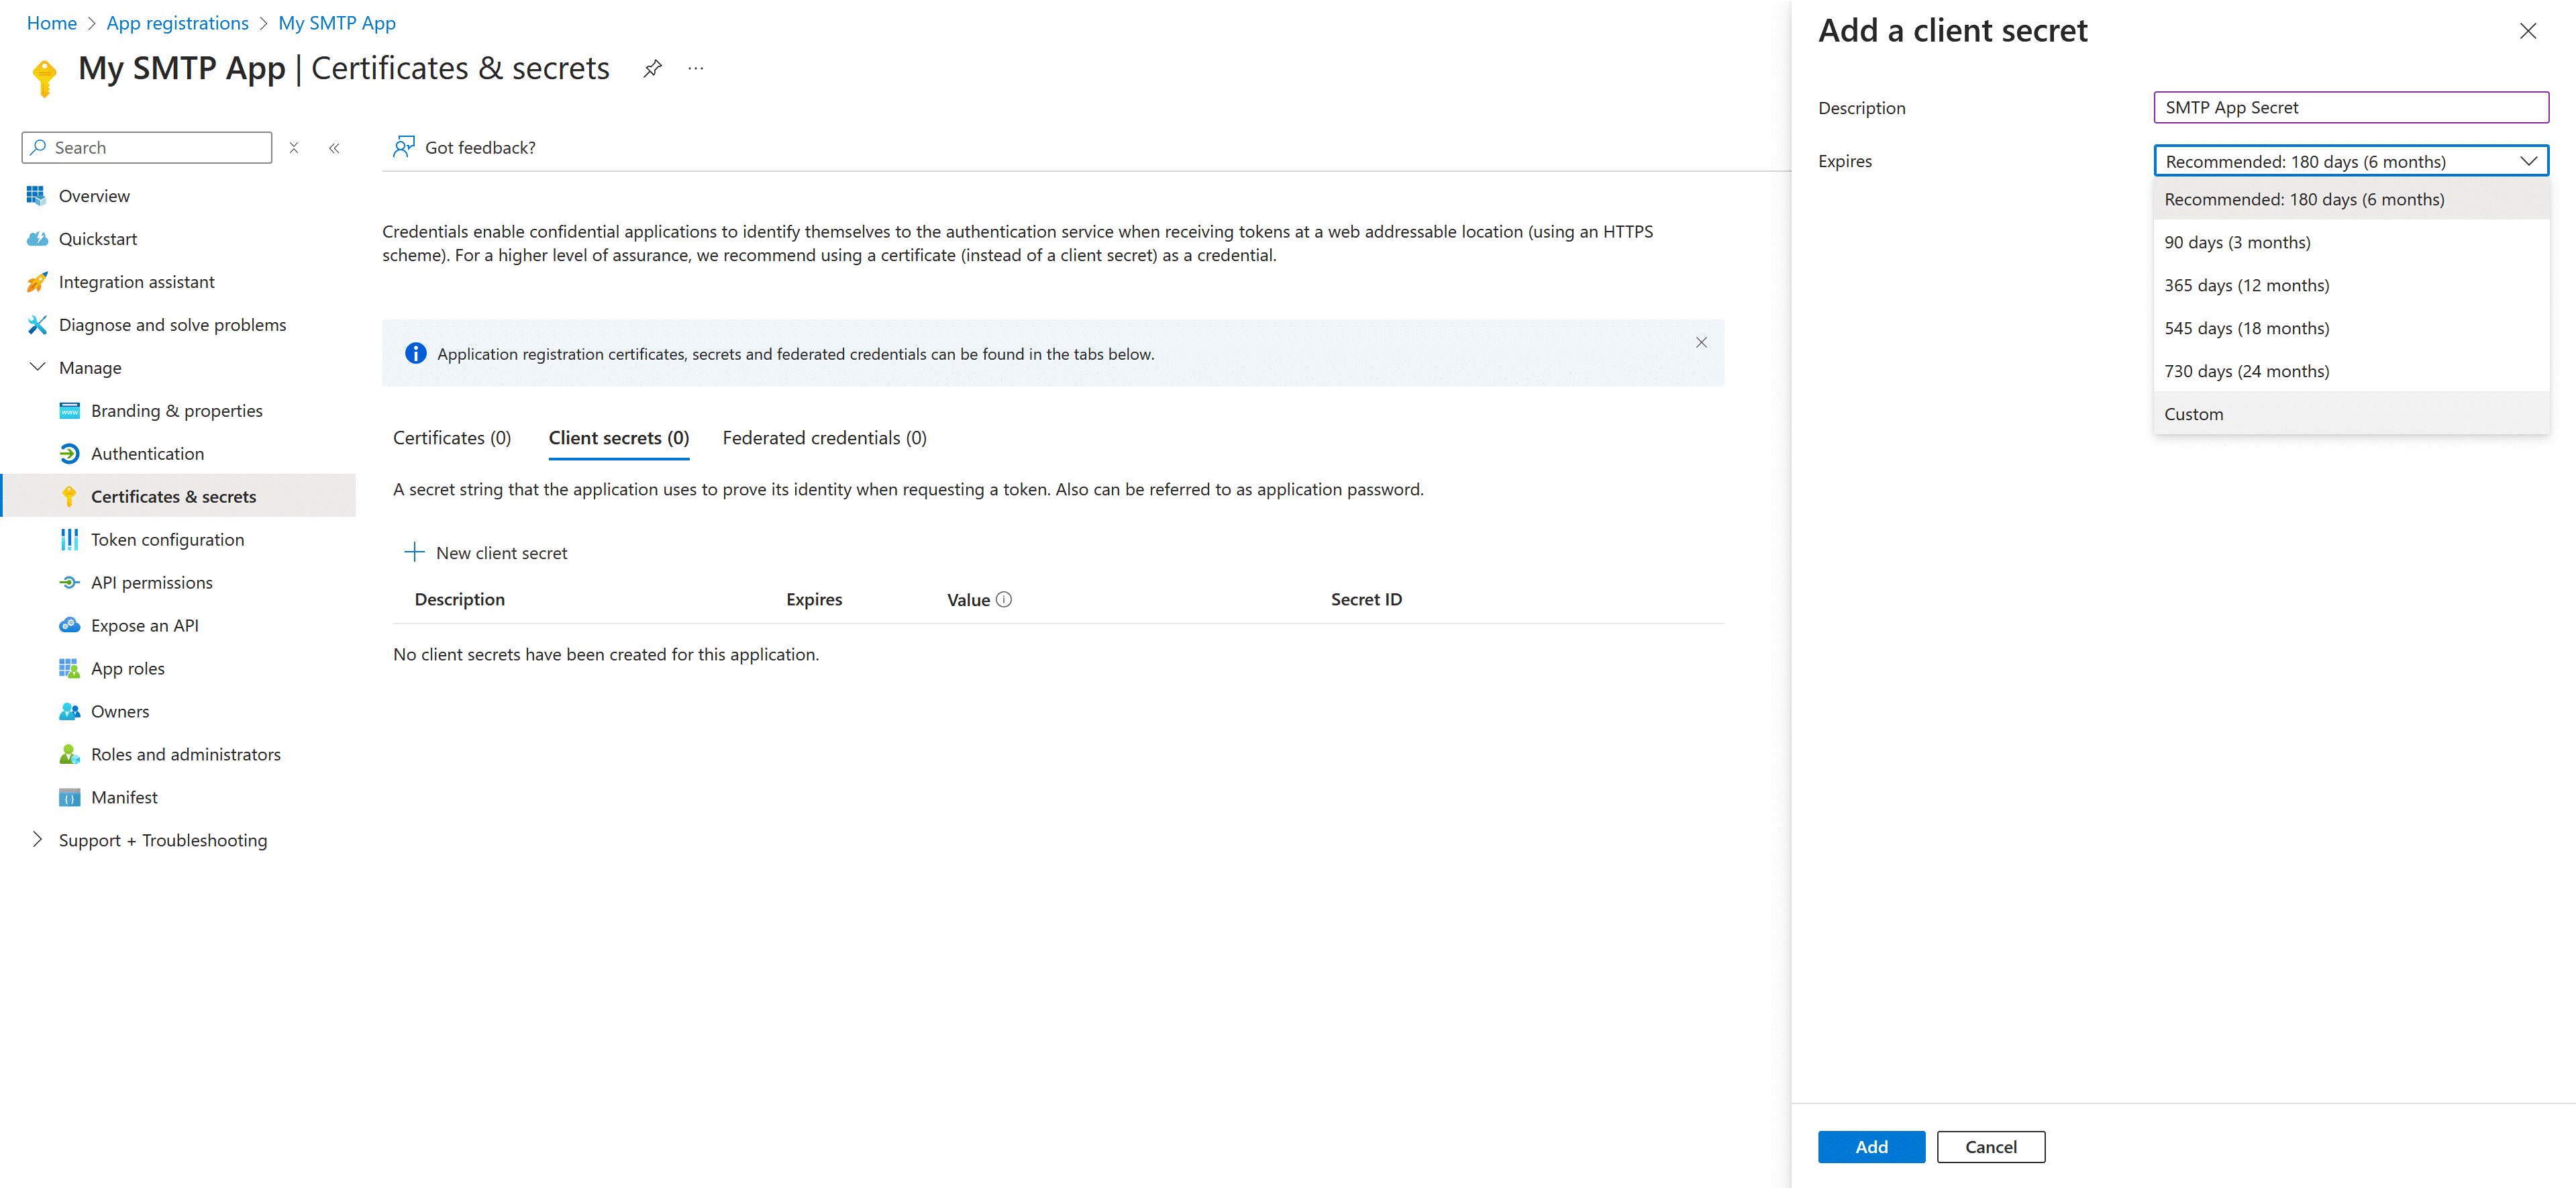
- Copy the “Value of the client secret” immediately, this is your Secret value. You won’t be able to view it again.
Step 6: Configure Outlook SMTP in module
- Log in to your PrestaShop Back Office.
- Navigate to Modules > Module Manager.
- Search for the "Easy SMTP" module and click Configure.
- Select Outlook SMTP and input the following details:
- App ID: Paste the Application (client) ID.
- Secret Value: Enter the Secret Value.
- Redirect URI: Use the placeholder redirect URI.
- Save the configuration.
Step 7: Authenticate and test email sending
- When you save the configuration, you'll be prompted to sign in to your Outlook account.
- After logging in, the email associated with this account will appear as the Sender name/sender email in emails sent to your website customers.
- Send a test email to verify that everything is working correctly.
With these steps, your Easy SMTP module is configured to send emails via Outlook SMTP, ensuring reliable and professional communication with your customers.